2025-10-27Last updated
You can use the Genetec ClearID™ self-service portal to request an identity. This
request adds someone (as an identity) that does not currently exist in the system. Using the
self-service portal with an optional approver workflow simplifies the approval process by only
notifying the specified approvers.
What you should know
- Only users with the required permission can submit an identity request.
- Each identity requested generates its own request and workflow.
- Requests are automatically routed to the right approvers.
- You’ll receive an email once your request is approved or rejected.
In ClearID, identity requests include:
- Requester
- Time of request
- Reason for request
For auditing purposes, the reason for identity requests are recorded.
Procedure
-
Log on to the self-service portal.
-
Click Dashboard.
-
Click New request.
-
In the New request dialog, click Request an
identity.
-
In the wizard, select a template from the Identity template list
and click Next.
-
In the General information section, complete the fields.
Tip: You can click Save as draft to resume work later,
or delete requests from the My requests page in the
dashboard.
-
(Optional) In the Web portal access section, enable
Grant user access to the web portal and enter a valid email as
username.
Note: The Grant user access to the web portal slider is disabled
when the identity template you are using does not include the option for web portal
access.
-
In the Access control section, set the time zone, activation, and
expiration
dates.
- Time zone
- Select the time zone that you require.
- Activation date
- Select the date when the requested identity should be activated.
- Expiration date
- Select the date when the requested identity should be deactivated.
Depending on
the identity template selected, the expiration date might not be
mandatory.
Note: If a maximum duration applies from the identity template, the system displays
a message indicating the maximum period of access that you can specify.
-
Click Next.
-
In the Work details section, enter the general information:
-
Click
 to add supervisors.
Note: The requester is automatically added to the Supervisors
of list by default.
-
(Optional) Click
 to remove any supervisors that are no longer required.
-
Click Next.
-
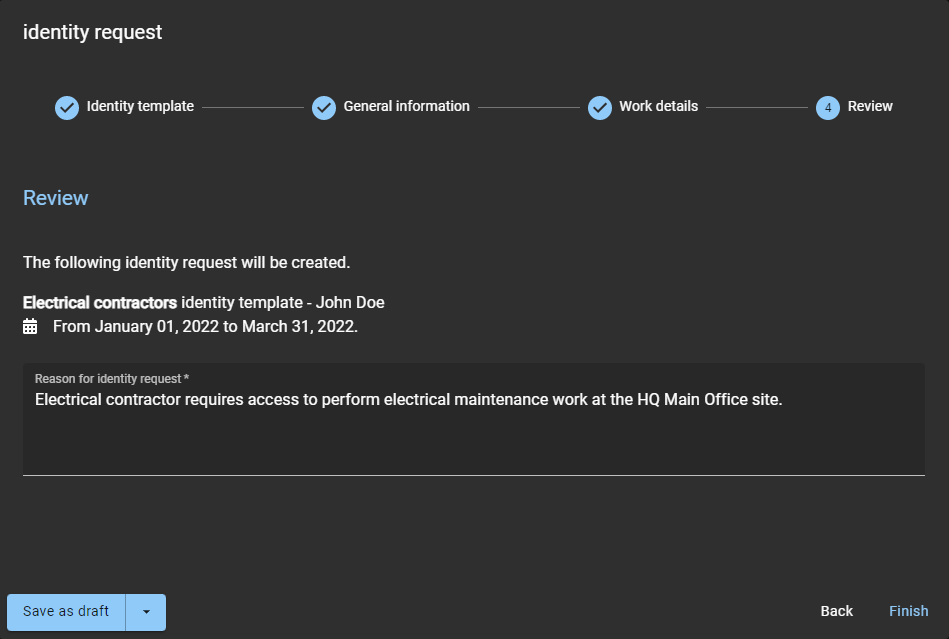
In the Review section, verify that the identity request details
are correct.
-
Add a reason for the request and click Finish.
An email notification is sent to approvers (if applicable).
After you finish
Depending on the identity template that you selected, your identity requests are either
approved automatically or reviewed and approved (or rejected) by designated
approvers.

