Configuring visitor check-in photo settings

2025-10-31Last updated

For sites where visitor privacy is crucial, Site owners can enable or disable photo-taking during visitor check-in at the Genetec ClearID™ Self-Service Kiosk. You can also choose to activate visitor photo retention to save visitor photos to the ClearID web portal.

Before you begin

Configure a visit profile for your site.

Procedure

  1. In the Genetec ClearID™ web portal, click Organization > Site > Visitor management .
  2. Select a visit profile from the list.
  3. Under General profile settings, expand Visitor check-in photos.
  4. Select Take visitor photo during check-in to take photos of visitors at the Self-Service Kiosk.
    Note:
    Take visitor photo during check-in is selected by default.
  5. Select Store visitor photos in ClearID to save visitor photos to the portal.
    Note:
    ClearID stores visitor photos for a minimum of 1 year and a maximum of 3 years. The retention period is configurable by site to comply with the different data laws that might apply in your region. For more information, see Modifying visitor management settings for sites.
  6. Click Save.
  7. (Optional) 
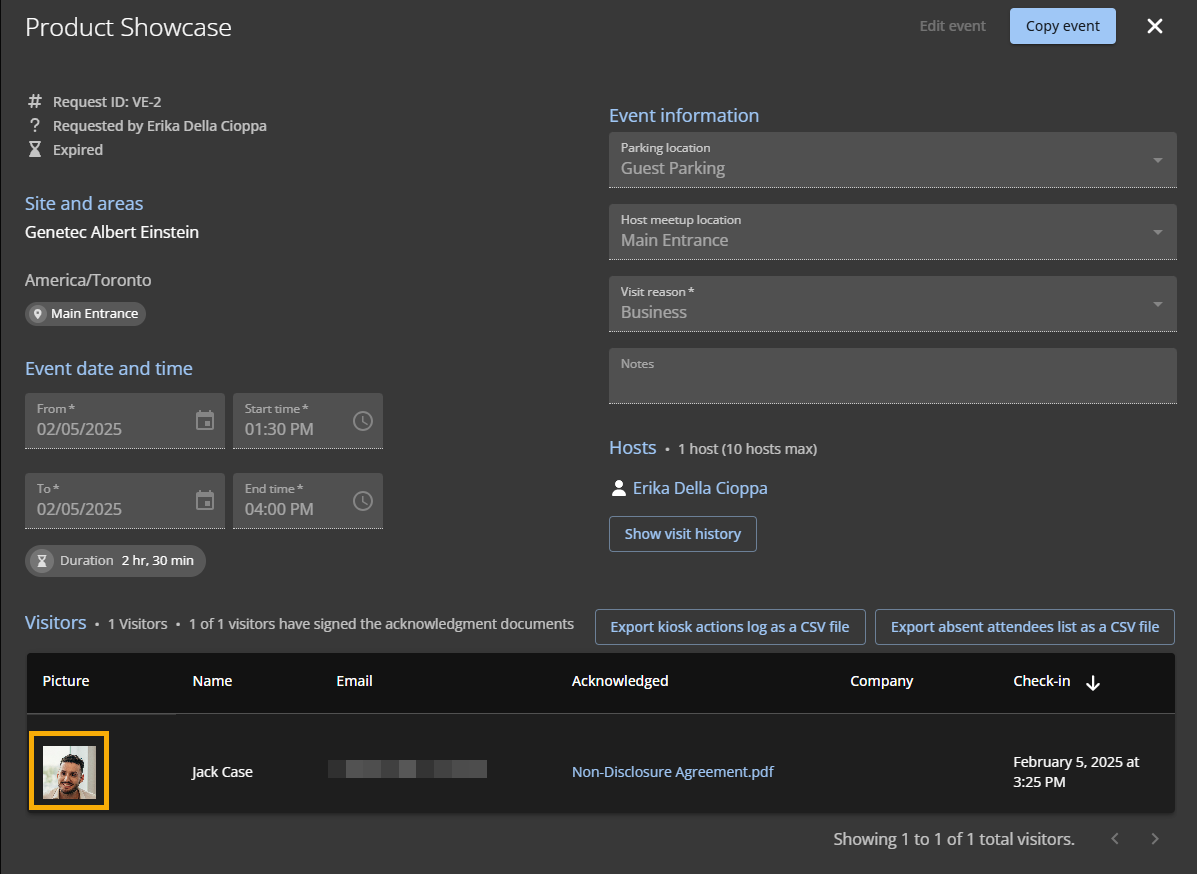
View saved visitor photos.
    1. In the ClearID web portal, click Reports > Visitors .
    2. Filter the report as needed.
    3. View the saved photos in the Pictures column, or select a visit event to view the visit details.
      A visit event in ClearID with a visitor photo.