To support compliance, audit readiness, and timely processing, Area
owners and Site owners can check the status of access requests for areas associated with a
site.
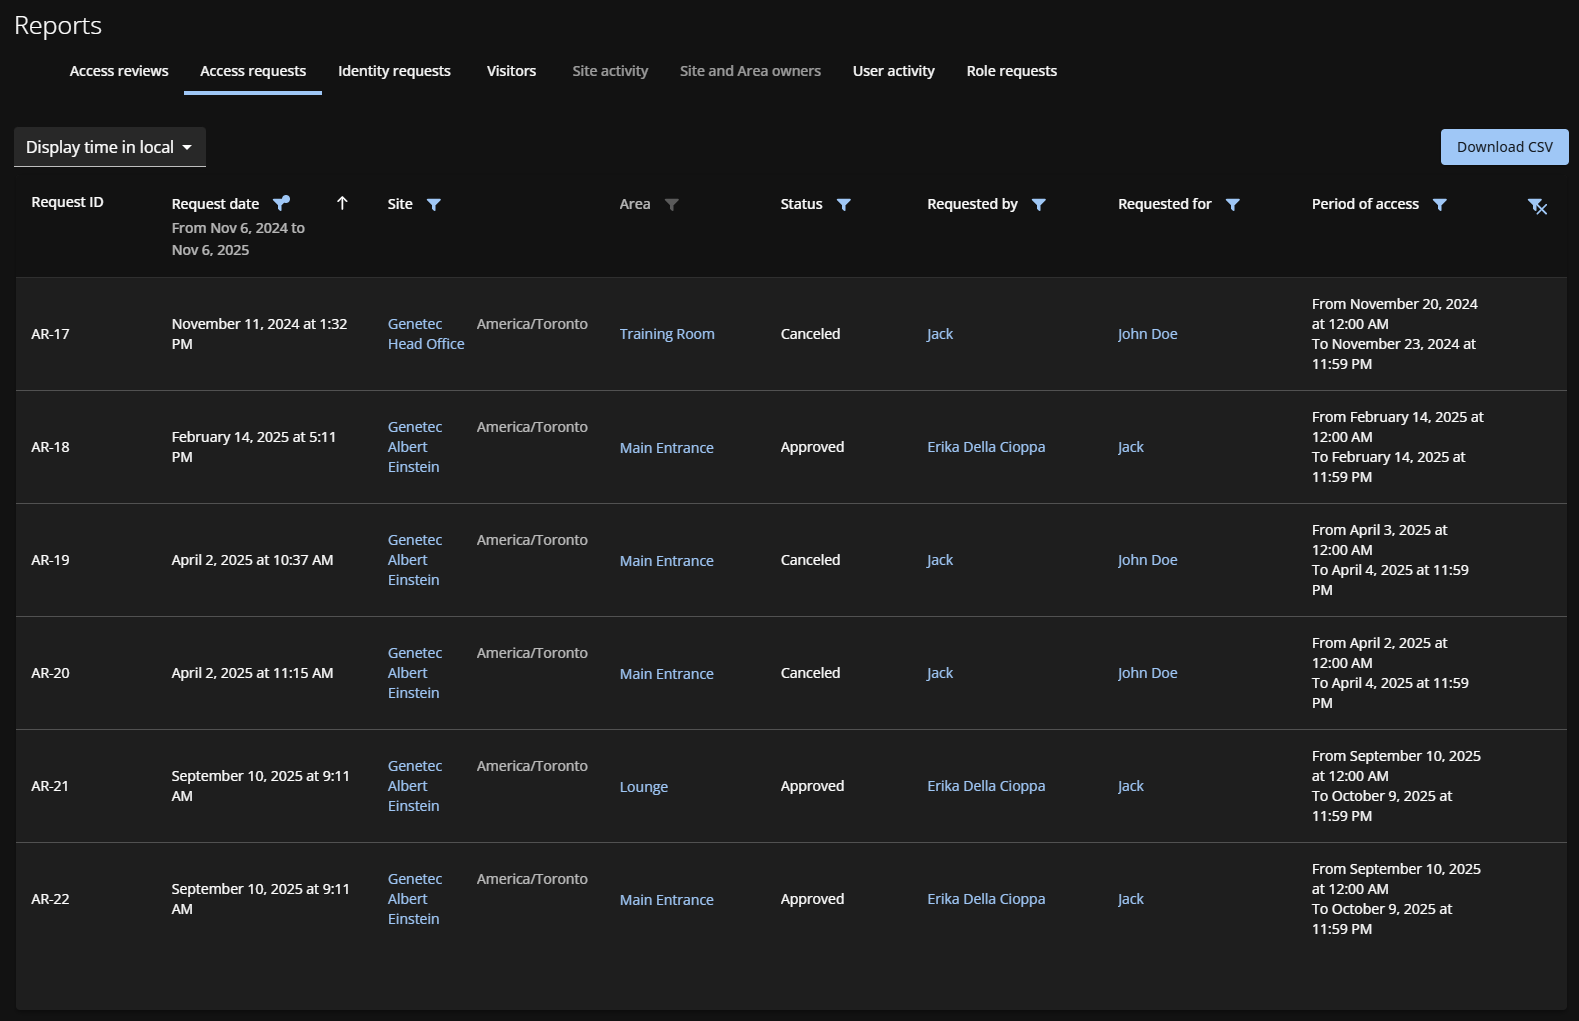
Use filters to narrow results. For example, filter by Waiting for
approvals in the Status column to find overdue requests.
In the
Access requests report page, select whether to
display times in local or UTC.
In
the Sites column,
select the site
for which you want to review access requests.
In the Request date column, select
a preset option or click Date range to specify a custom
period.
If you selected Date range, use the calendar picker.
You can request a maximum period of 1 year.
(Optional) Click the arrow icons to sort by ascending or
descending date.
Use the remaining filters as needed:
Area
Filter by area name.
Status
Filter by request status.
Requested by
Filter the results by requester name or email address.
Requested for
Filter by access recipient:
All
An identity
A role
Period of access
Filter using a date range.
(Optional) Click the Area name hyperlink to view area
details.
(Optional) To revoke an access request, click an Area name
> Access and click next to a user.
(Optional) Click the access request to view its
details.
(Optional) If you’re an approver, approve or deny the pending access request while
viewing it.
Click Download CSV and follow your browser prompts to save the
file.
By default, the file name includes the site name and date range. For example,
AccessRequest_yoursitename_fromdate_to_todate.csv(AccessRequest_Genetec_Montreal_2024-09-14.csv).
The
contents of the CSV file can vary depending on the filters you've selected when you
download the report.
Click to reset the
filters.
Example
Watch this video to learn more. Click the
Captions icon (CC) to turn on video
captions in one of the available languages.

 next to a user.
 to reset the
filters.
to reset the
filters.