Configuring visitor badge settings
2026-05-04Last updated
To allow guests to replace lost or damaged temporary badges and to customize labels that identify visitor types, Site owners can configure visitor badge settings in Genetec ClearID™.
Before you begin
What you should know
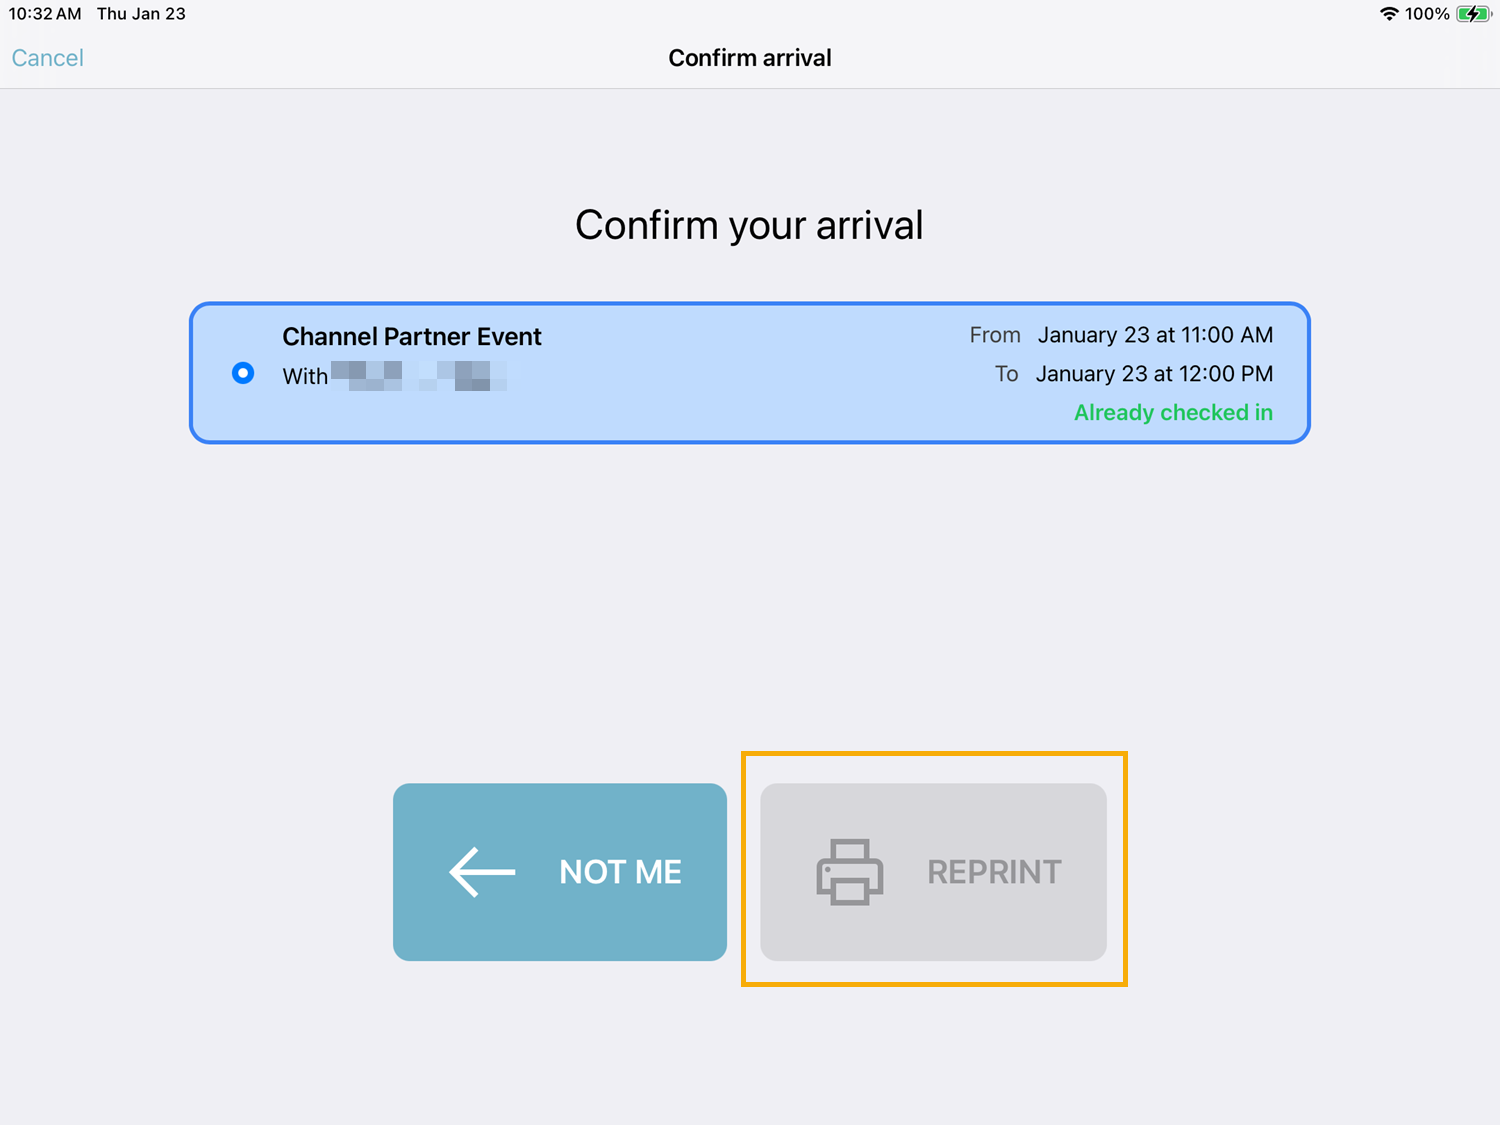
- When Allow badge re-printing is enabled, visitors can reprint their temporary badges by accessing their visit information on a Self-Service Kiosk.
- Visitor QR codes configured as credentials should only give access to non-secure areas.
Procedure
-
In the Label printed on badge field, enter a label to display on
badges that use this visit profile.
For example, the Visitor profile might display "Visitor" on badges, while the Contractor profile might display "Contractor".
Badge labels can contain up to 20 characters.