
Printing a test badge from the Self-Service Kiosk
2026-04-29Last updated
To help you understand if the printer is working as expected, you can print a test badge. This can be done after the initial setup or when replacing the label roll.
Before you begin
What you should know
- 62mm Black (Brother Part No: DK-2205)
- 62mm Red and Black (Brother Part No: DK-2251)
- 57mm Black (Brother Part No: RD001U1S)
- The labels for the Brother TD-4550DNWB printer MUST be oriented correctly; otherwise, badge printing issues can occur.
Badges can be printed in either Portrait or Landscape format.
Procedure
-
In the Genetec ClearID™ Self-Service Kiosk mobile app, tap settings (
 ).
).
-
Collect and examine your test badge.
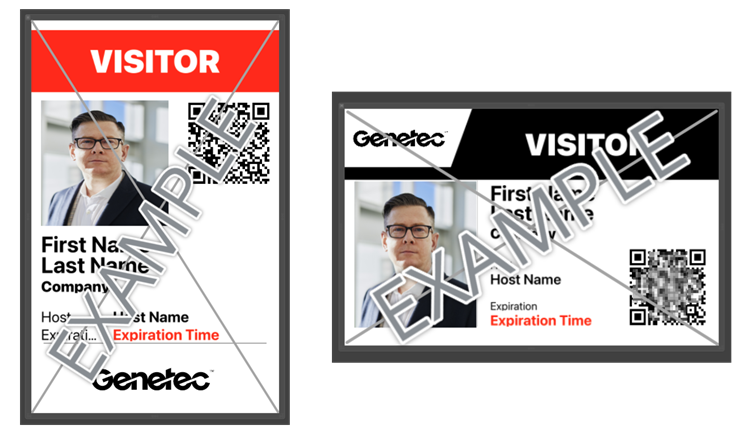
Badge dimensions: 10 x 6.1 cm or 3.94 x 2.56 inches.
When printing to a Brother TD-4550DNWB label printer, your badges are printed in black and white.
After you finish
Occasionally, you might need to order supplies, replace the coin cell battery, recharge the optional battery unit (Brother QL-820NWBc or QL-820NWB only), or clean the label printer.
For more information, see the third-party user guide documentation for your printer.