Configuring the Self-Service Kiosk label printer for
Ethernet mode (Brother TD-4550DNWB)
2026-05-07Last updated
To ensure maximum connection stability and support multiple kiosks from a single
device, you must configure the hardwired Ethernet settings on the Brother TD-4550DNWB label
printer for Genetec ClearID™.
What you should know
One label printer can support up to five
self-service kiosks
Important:
Do not connect this product to any LAN connection that is subject to
overvoltages.
Procedure
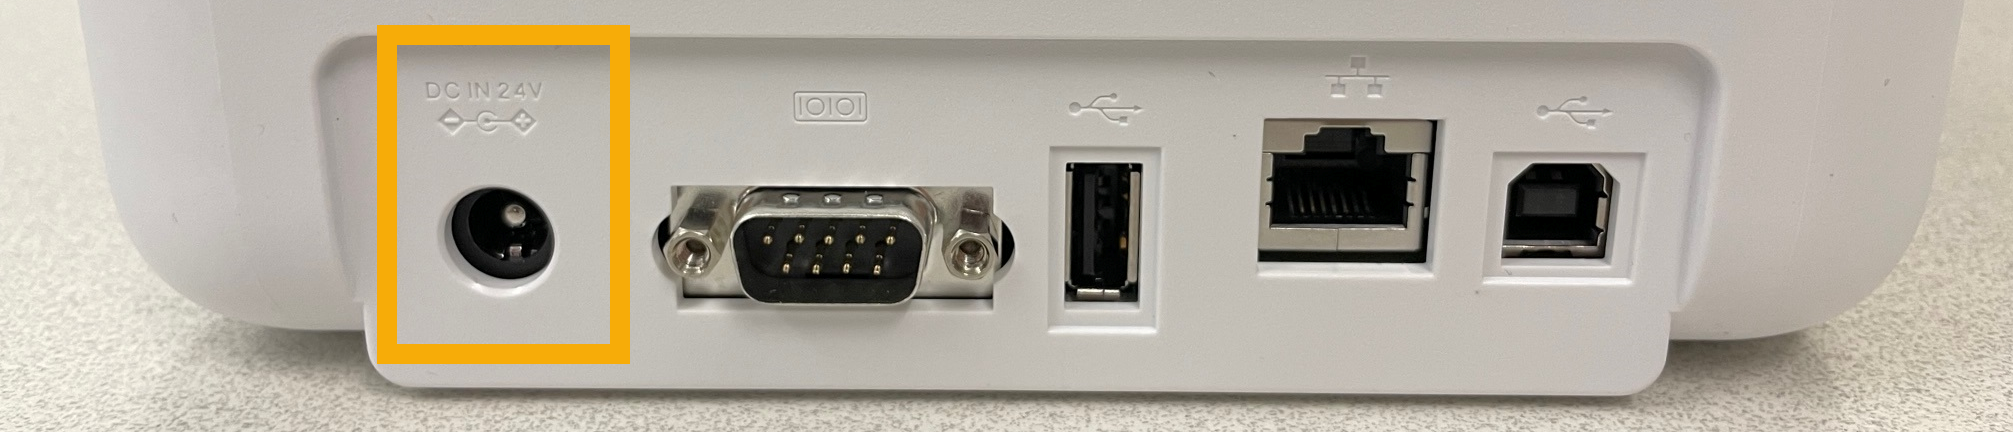
Plug printer AC adapter into a power outlet and connect the power lead to the label
printer.
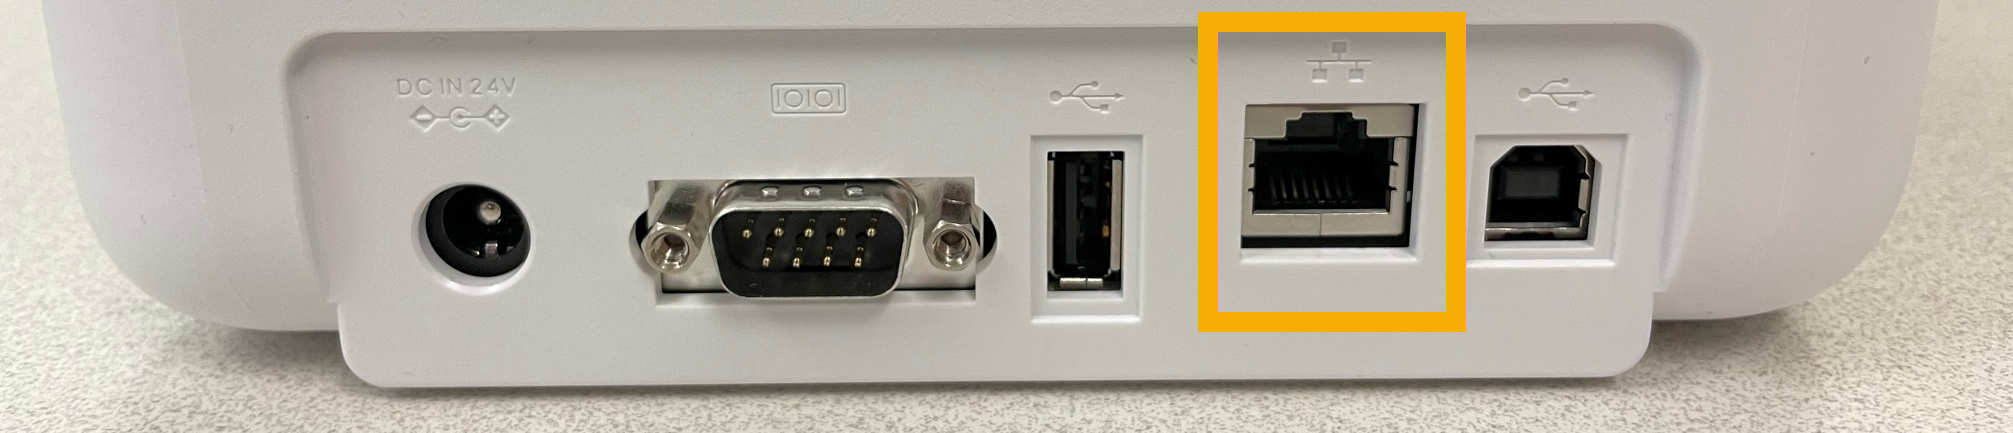
Make sure that the printer is turned OFF before connecting the LAN cable.
Connect a LAN cable to the LAN port on the back of the printer.
Use a straight-through Category 5 (or greater) twisted-pair cable for 10BASE-T or
100BASE-TX Fast Ethernet Network.
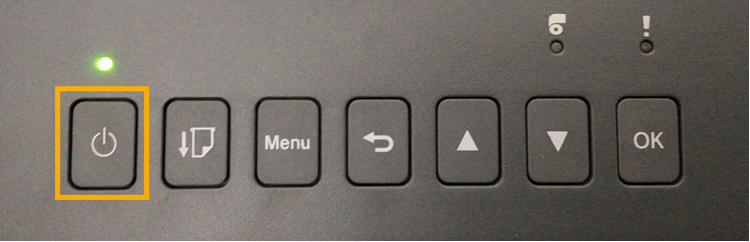
Press the Power button to turn the label printer on.
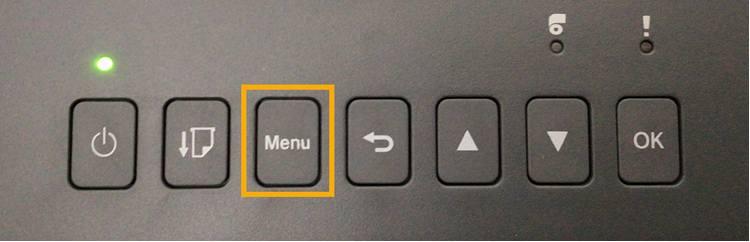
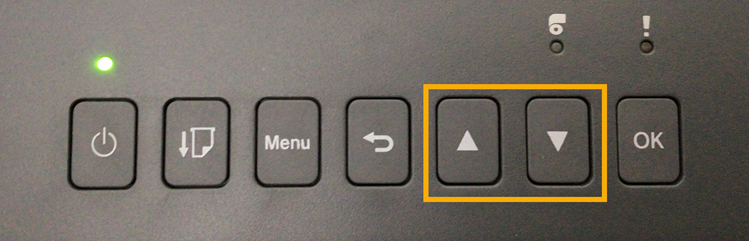
Press the Menu button.
Use the arrow buttons to navigate the label printer
menu.
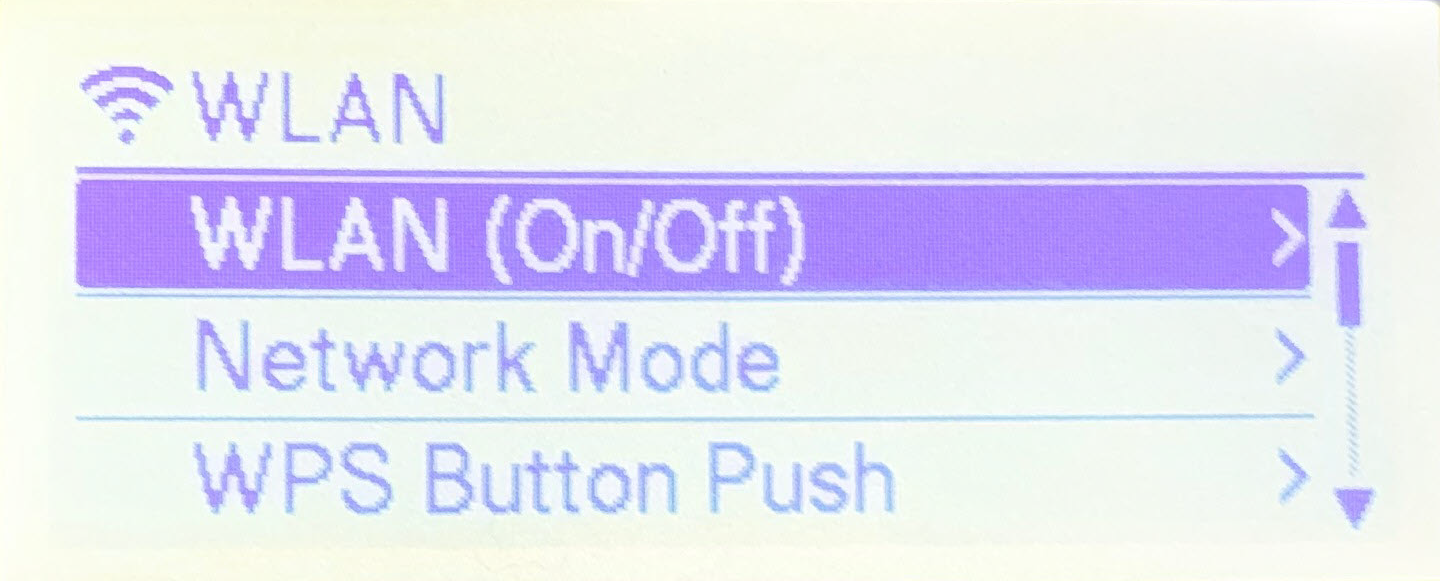
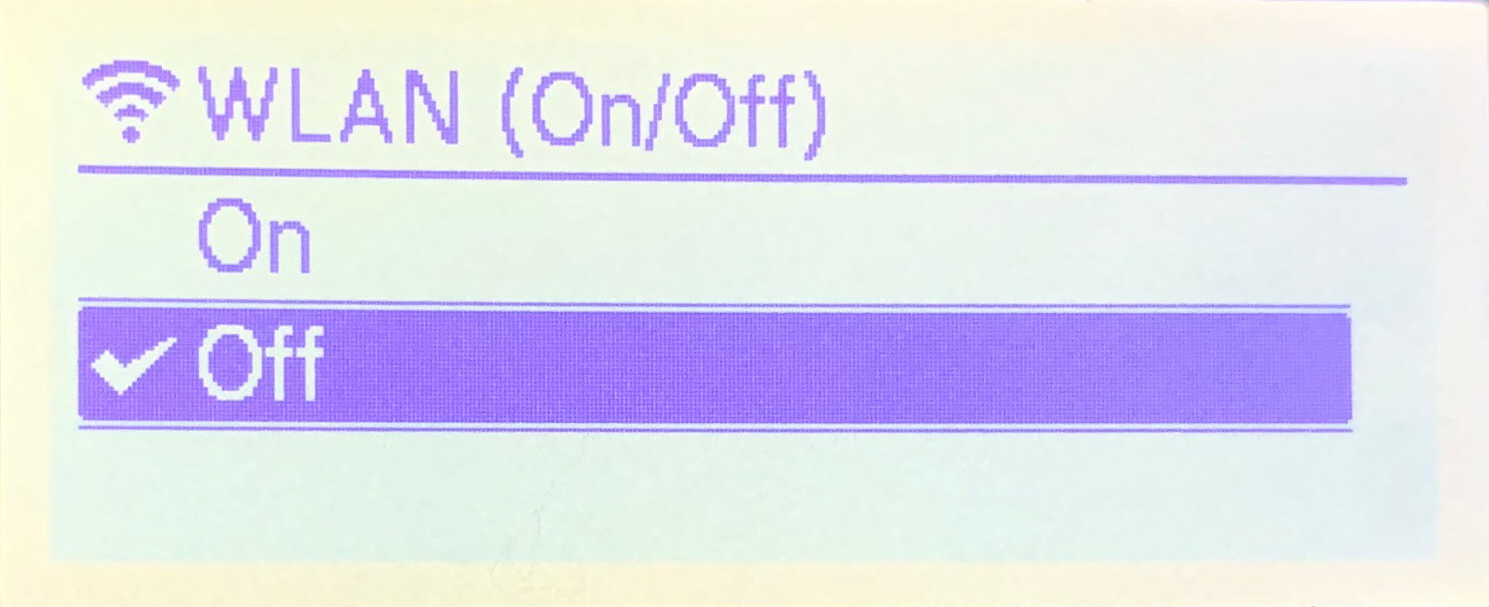
From the label printer Settings menu, turn OFF
WLAN (Wi-Fi).
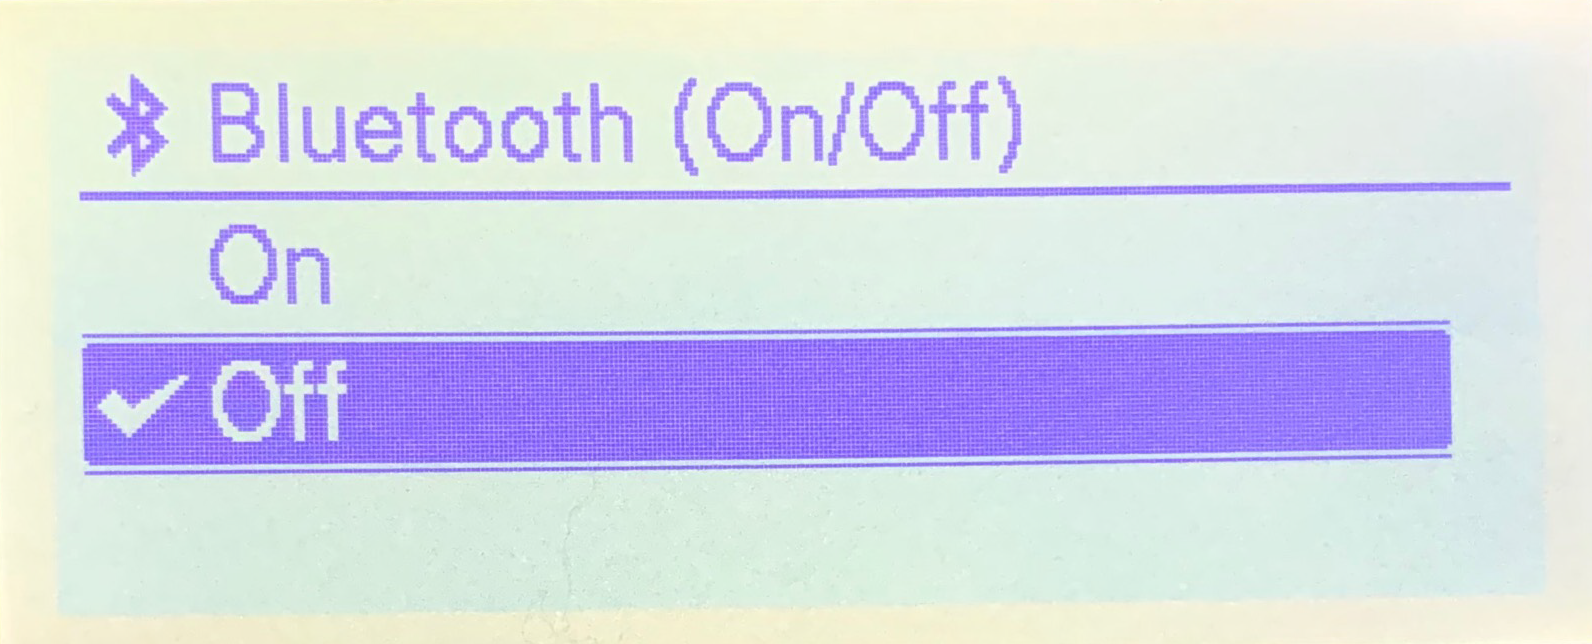
From the label printer Settings menu, turn OFF
Bluetooth.
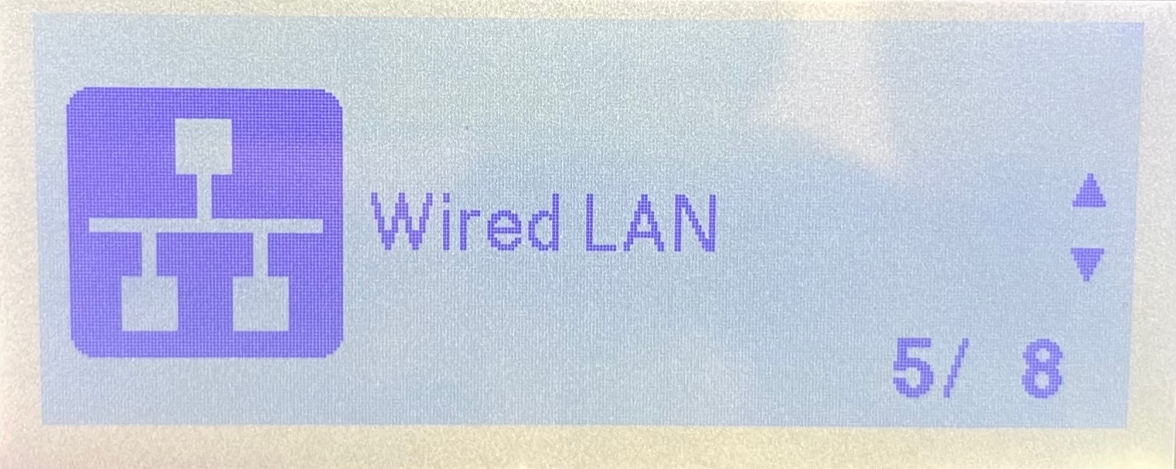
Scroll down to the Wired LAN (5/8) settings and press
OK.
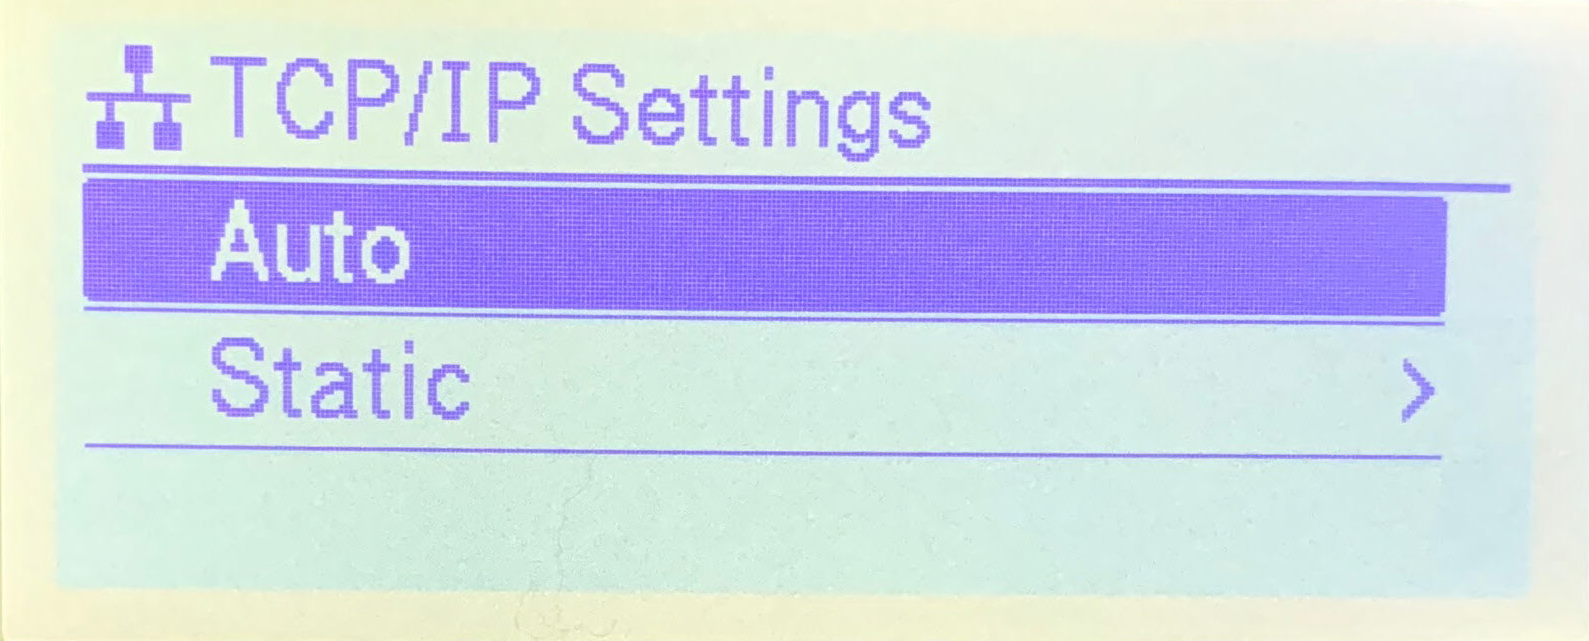
Click TCP/IP Settings and select
AUTO.
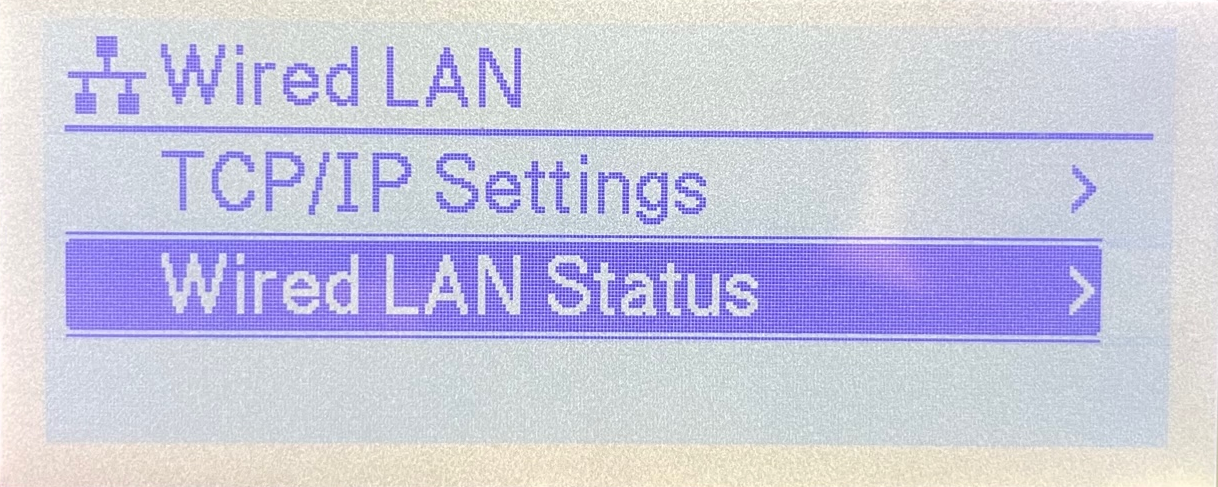
Click Wired LAN Status to check your printer.
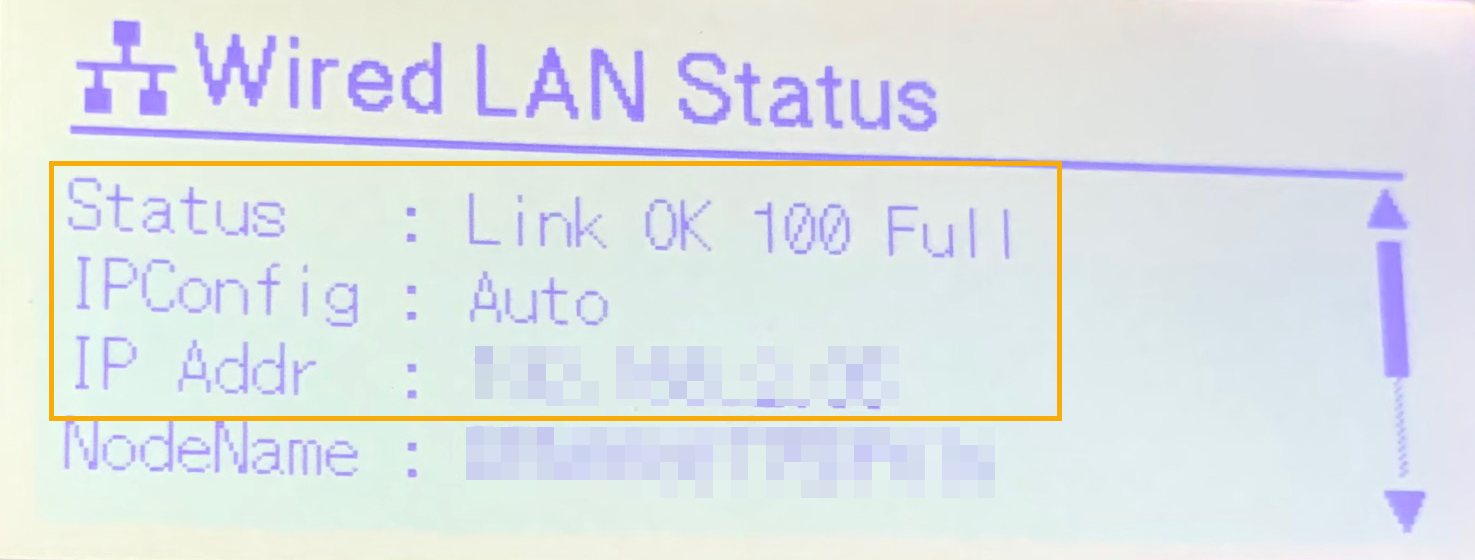
Check your connection Status,
IPConfig, and IP Addr.
Make a note of your IP address and other settings for later use when selecting
your printer.