To enable badge printing for on-site visitors, you must select and link the configured
label printer within the Genetec ClearID™ Self-Service Kiosk mobile application.
Wi-Fi or Ethernet only: Make sure that you have the IP address of the label printer so
that you can verify your selection.
Procedure
In the Self-Service Kiosk mobile app, tap
Settings ().
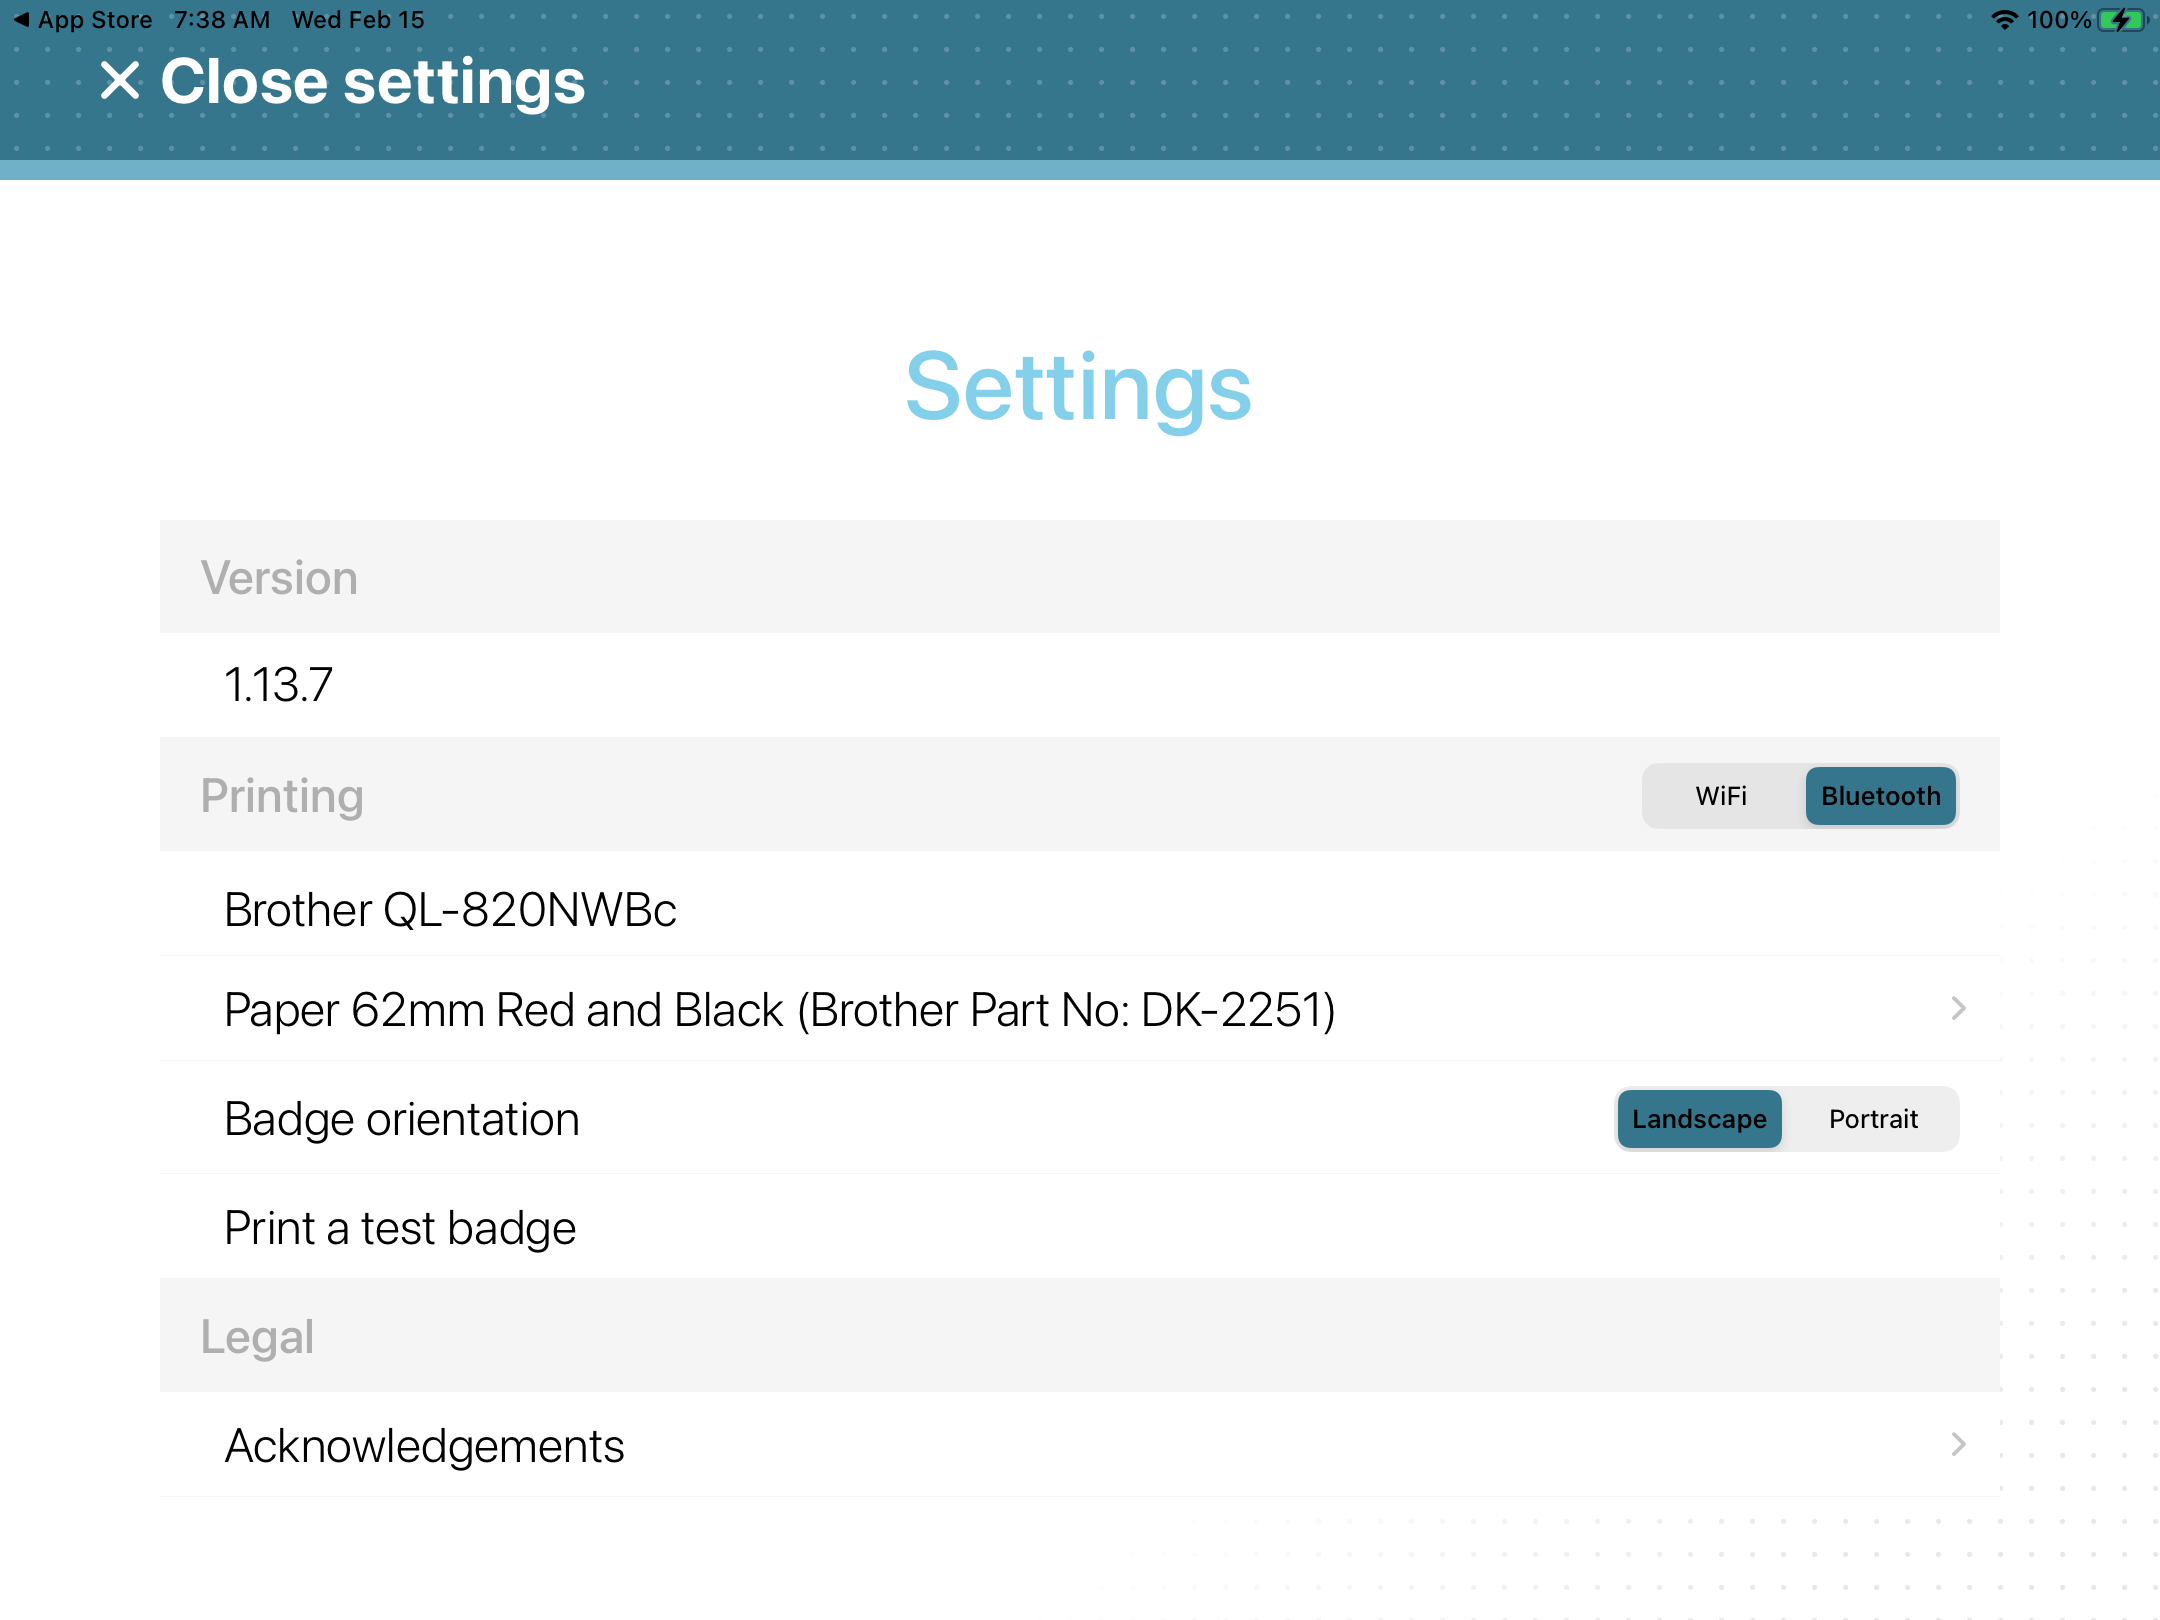
On the Settings page, tap one of the following:
Bluetooth
Wi-Fi
Ethernet
If requested, enter your user authentication details.
If you selected Bluetooth, your selected printer should be
displayed in the Printing section.Bluetooth mode:If the printer is not displayed or Bluetooth is not selected, tap
Wi-Fi then tap Bluetooth to trigger
discovery again.
If you selected Wi-Fi or Ethernet, choose
one of the following:
Discover Wi-Fi printer
Set printer manually (IP address)
If you selected Discover Wi-Fi printer, wait for the
Printers list to be displayed then select your printer.
Verify that the IP address of the printer you are selecting matches the IP address
seen during printer configuration.
Wi-Fi mode: If the printer is not
displayed or Wi-Fi is not selected, tap Bluetooth then tap
Wi-Fi to trigger discovery again.
If you selected Set printer manually (IP address), enter the
IP address of the printer and tap Save.
Tap Close settings to complete your printer selection
setup.
After you finish
Print a test badge to verify your physical hardware output and label alignment.

 ).
).