Configuring the Self-Service Kiosk label printer for
Wi-Fi mode (Brother TD-4550DNWB)
2026-05-07Last updated
To enable wireless badge printing for high-traffic areas, you must configure the Wi-Fi
network settings using the Brother TD-4550DNWB physical interface and link the device to Genetec
ClearID™.
What you should know
One label printer can support up to five
self-service kiosks
The label printer must be on the same Wi-Fi network as the Genetec ClearID™
Self-Service Kiosk iPad.
The Wi-Fi network must be enabled for use and support the following:
Bonjour
Required for device search.
SNMP
Required to check printer status information.
UDP or TCP Port 9100
Required to send print data.
Procedure
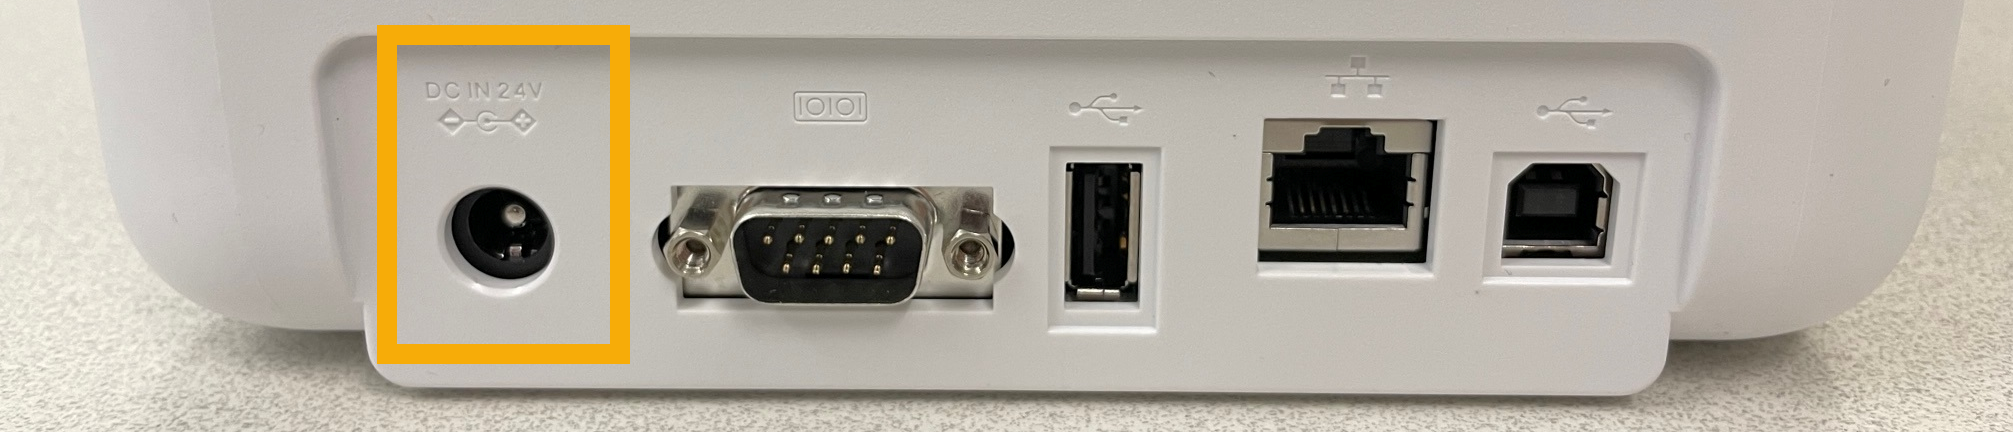
Plug printer AC adapter into a power outlet and connect the power lead to the label
printer.
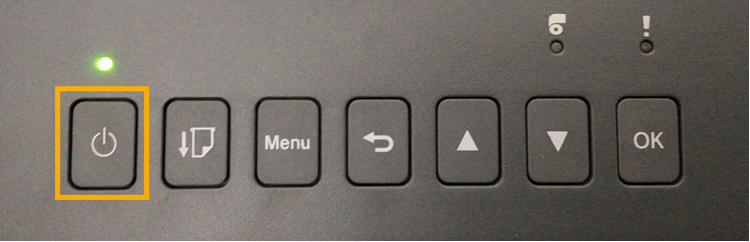
Press the Power button to turn the label printer on.
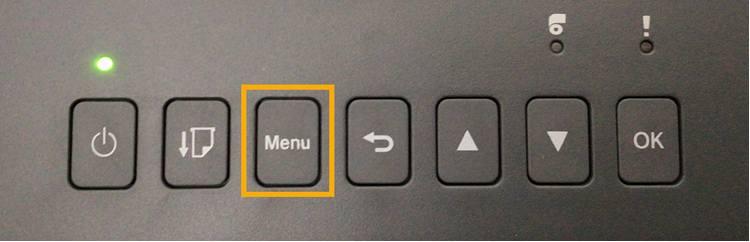
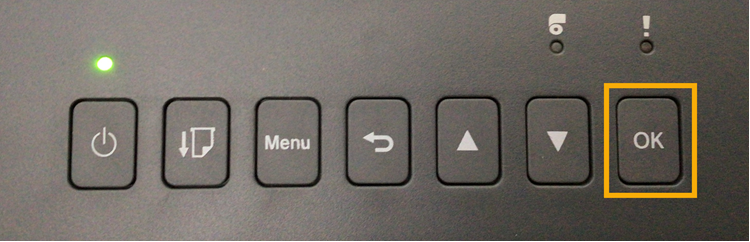
Press the Menu button.
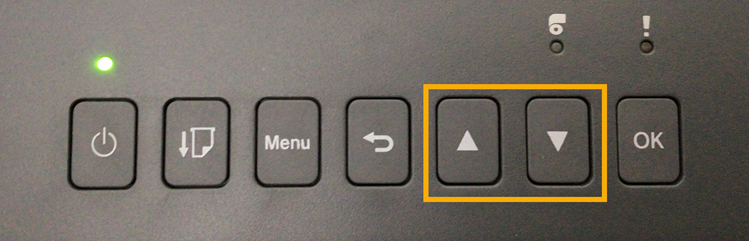
Use the arrow buttons to navigate the label printer
menu.
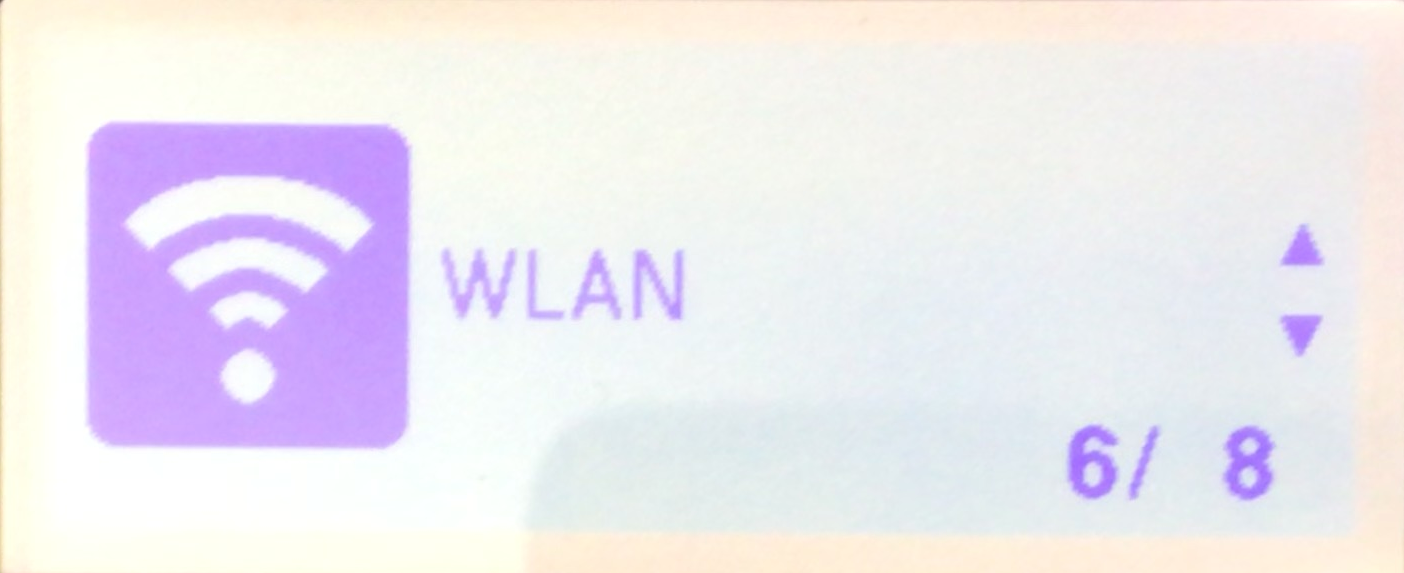
Scroll down to the WLAN (6/8) settings and press
OK.
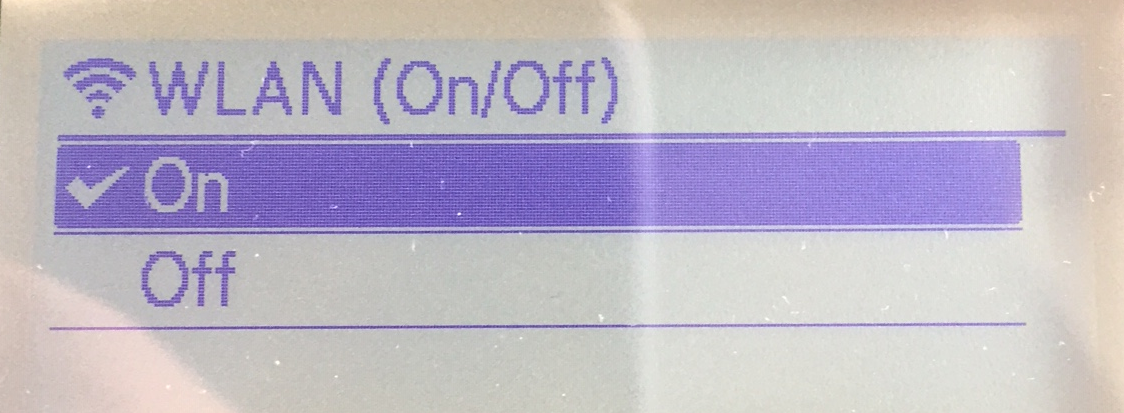
Select WLAN WLAN (On/Off)
> On and press OK .
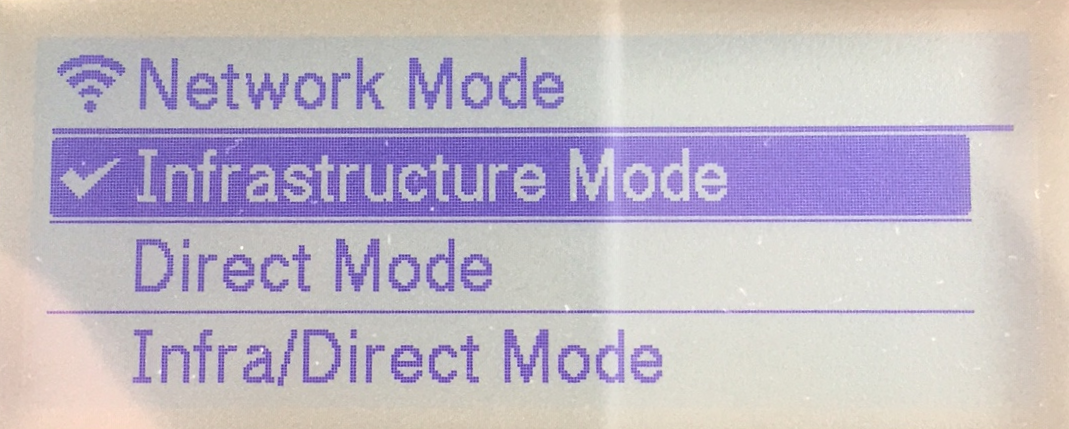
In the Network Mode menu items, select
Infrastructure Mode and press
OK.
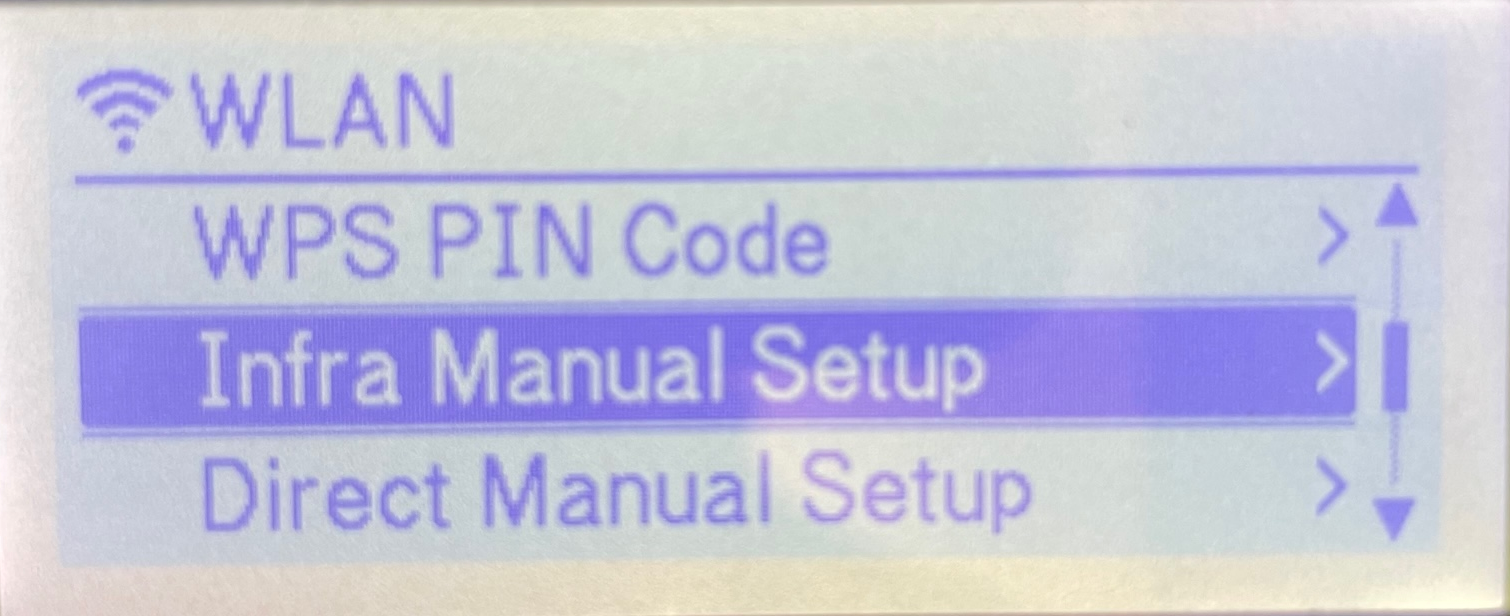
Scroll down to Infra Manual Setup and press
OK.
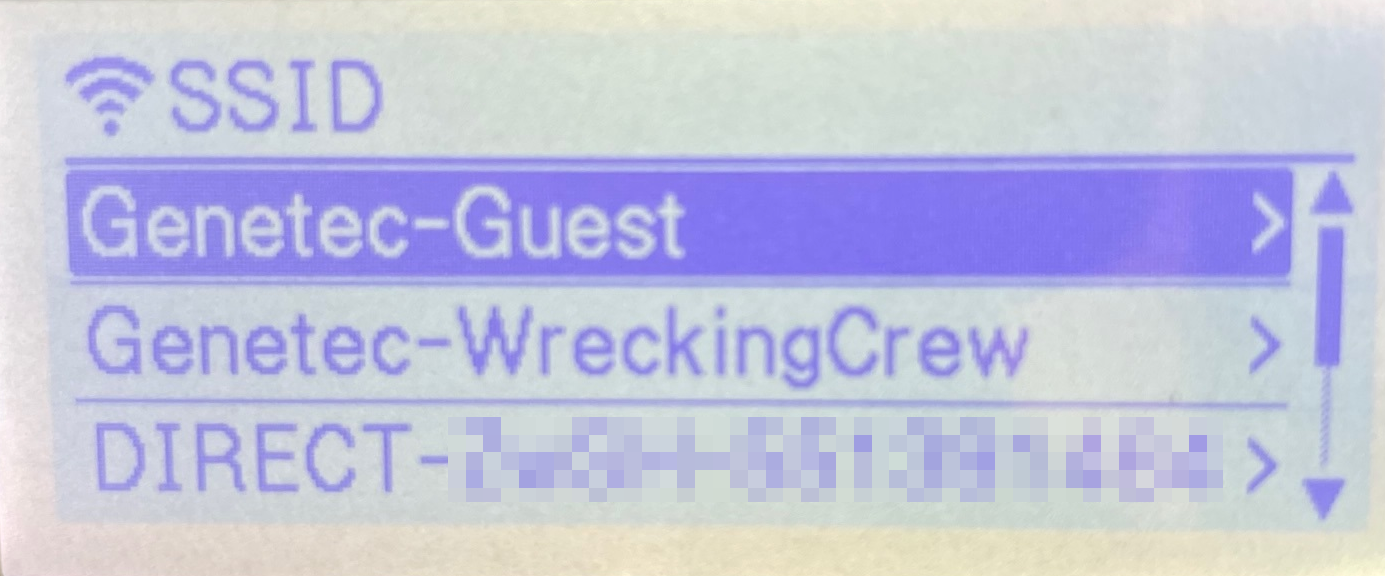
After the search completes, scroll down and select your Wi-Fi network from the
Service Set Identifier (SSID) list and press OK.
Typically, this network is a Wi-Fi network with AirPrint enabled.
When prompted, enter the Wi-Fi password.
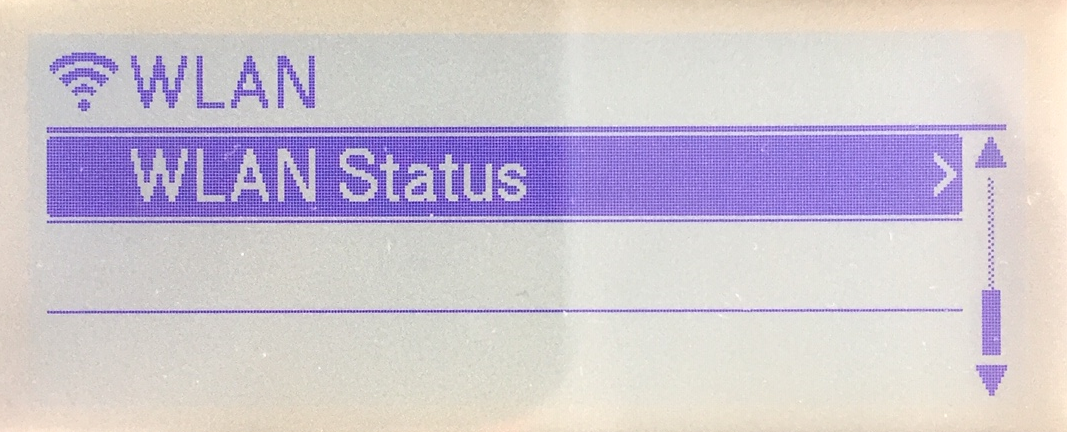
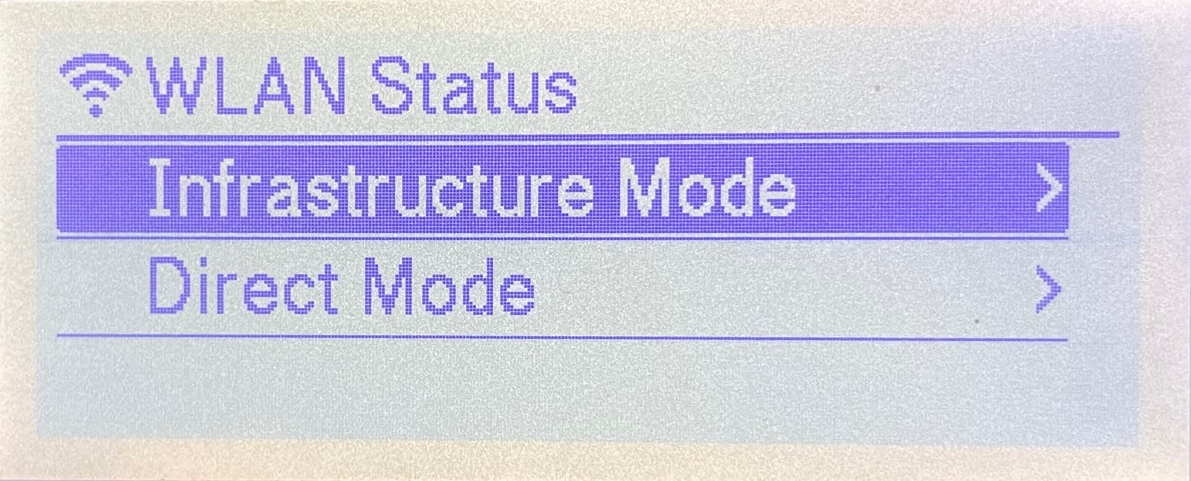
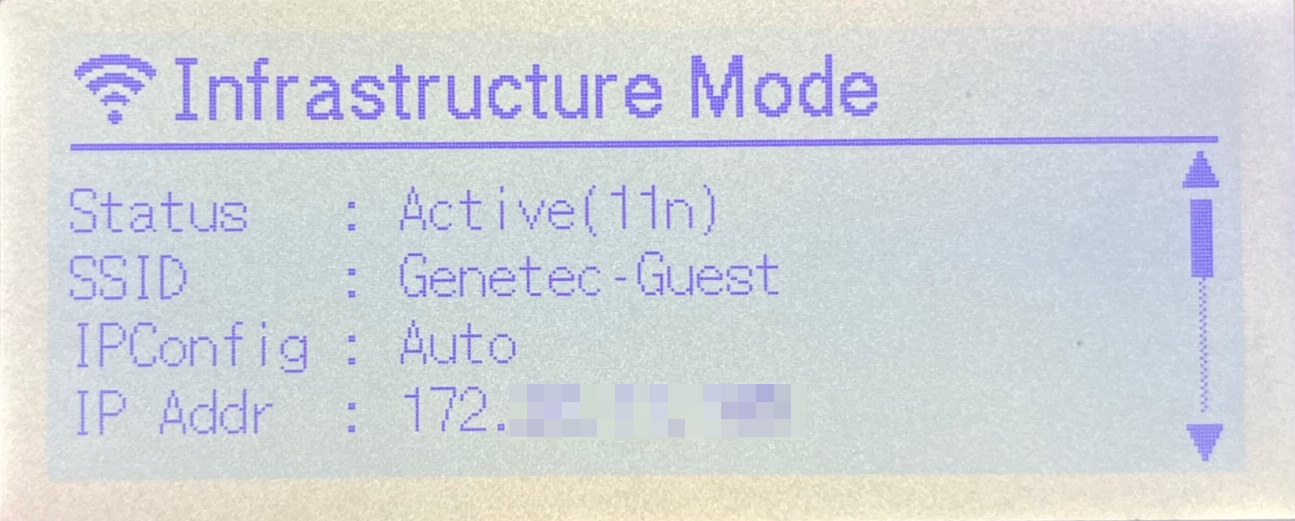
Navigate to WLAN Status
> Infrastructure Mode and press OK to verify your Wi-Fi network status and
IP address.
Make a note of the SSID (Wi-Fi network) and IP
Addr (Label Printer IP) for later use.
The SSID is used to verify that you are on the same Wi-Fi network as the ClearID
Self-Service Kiosk iPad.
The IP address is used later when selecting a label printer to verify you have the
correct printer.