2024-02-16Last updated
Before visitors can use the Genetec ClearID™ Self-Service Kiosk to check in, you must
configure the label printer so that labels can be printed during the check-in
process.
Before you begin Familiarize yourself with the following:
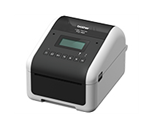
What you should know When using the Brother TD-4550DNWB label printer in Bluetooth printing mode, the
following applies:
One label printer can be paired with only one kiosk.
The label printer must be within 30ft of the kiosk.
Procedure
Plug printer AC adapter into a power outlet and connect the power lead to the label
printer.
Press the Power button to turn the label printer on.
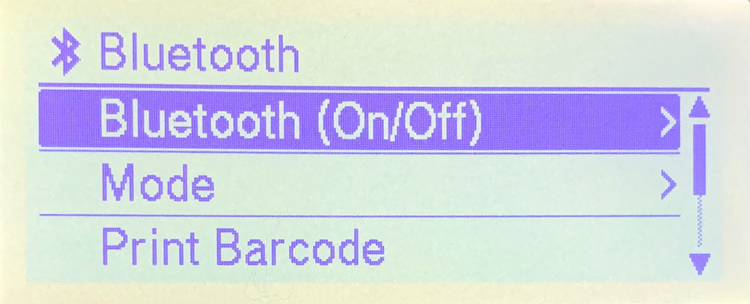
Press the Menu button.
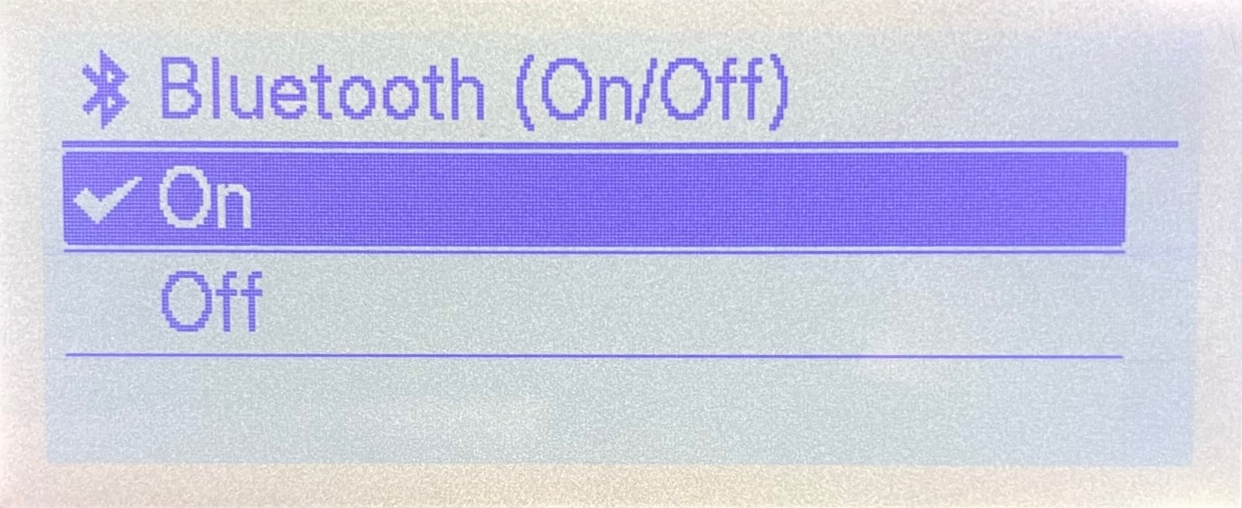
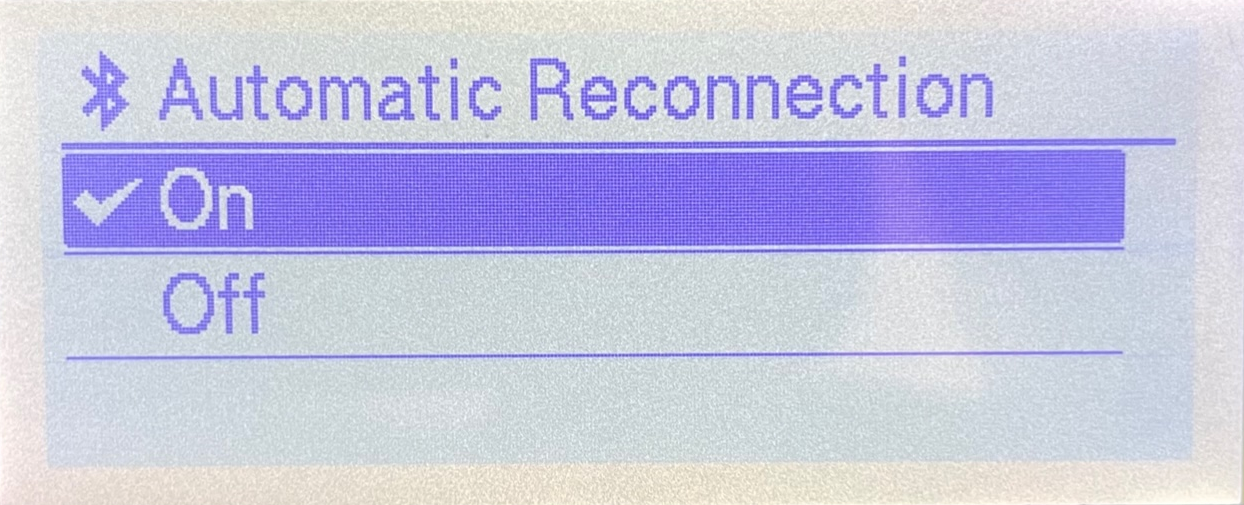
Select in the settings menu and press OK .
Select in the settings menu and press OK .
Pair your Bluetooth label printer with your ClearID Self-Service Kiosk iPad.
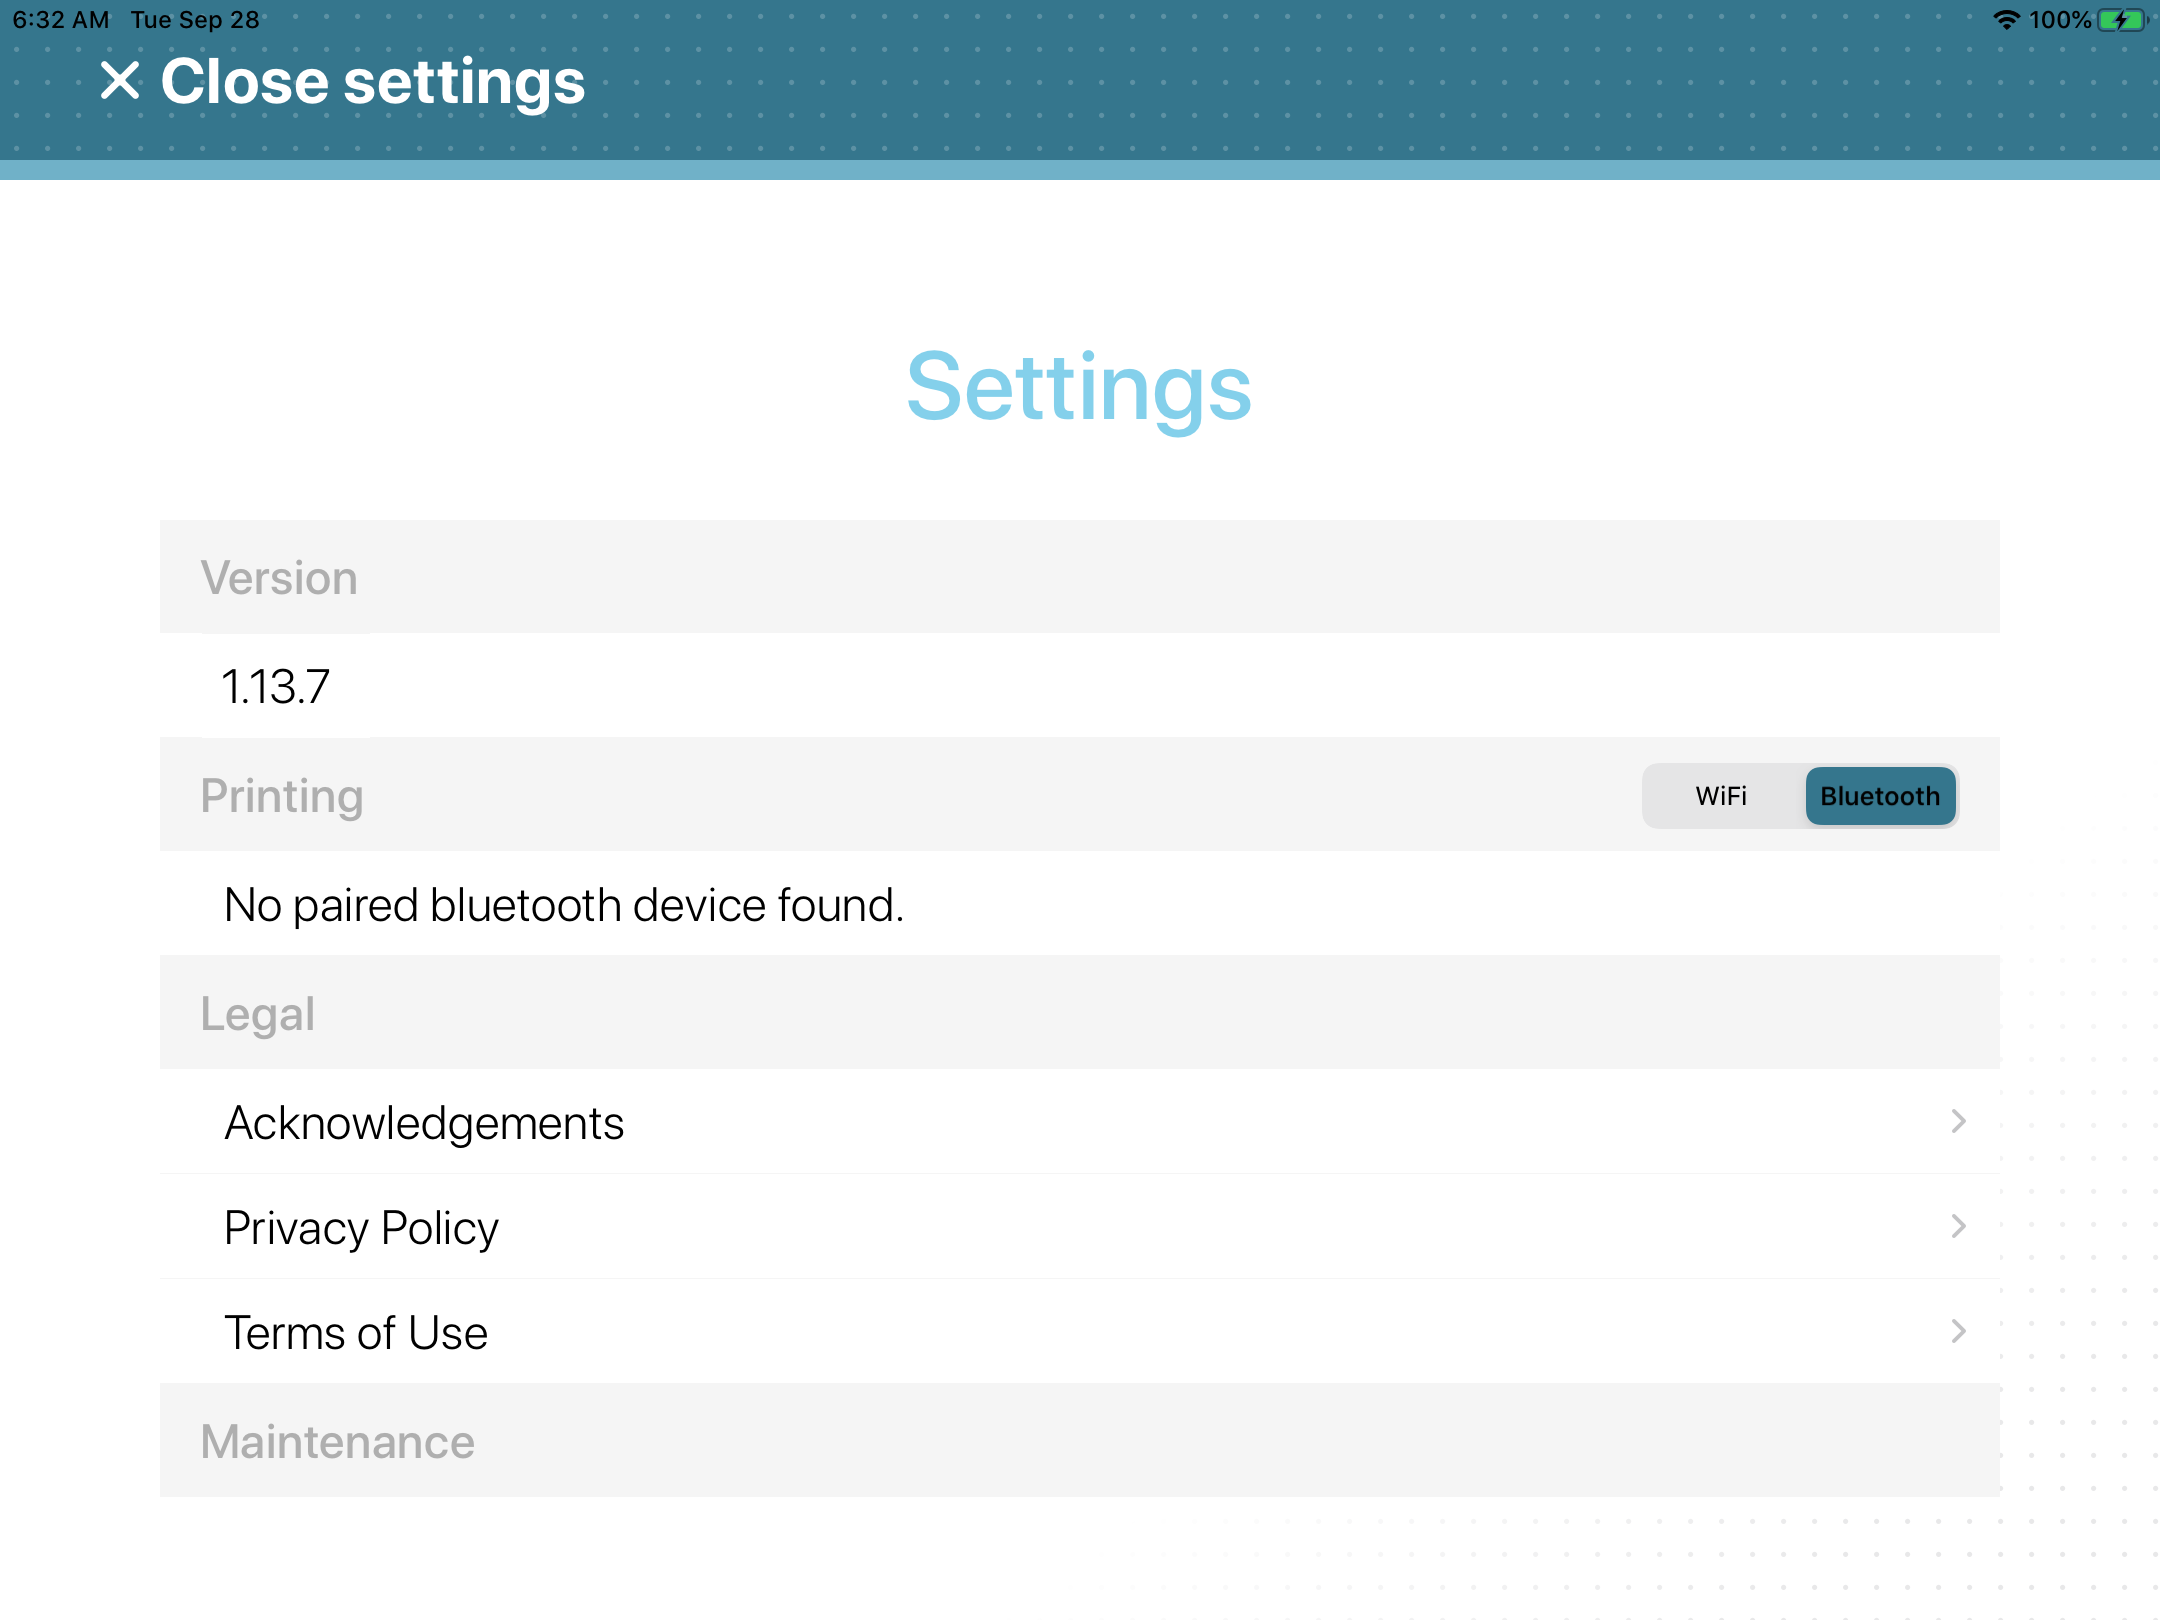
In the Self-Service Kiosk mobile app, tap
Settings (
In the Printing section, tap the slider control to select
Bluetooth .
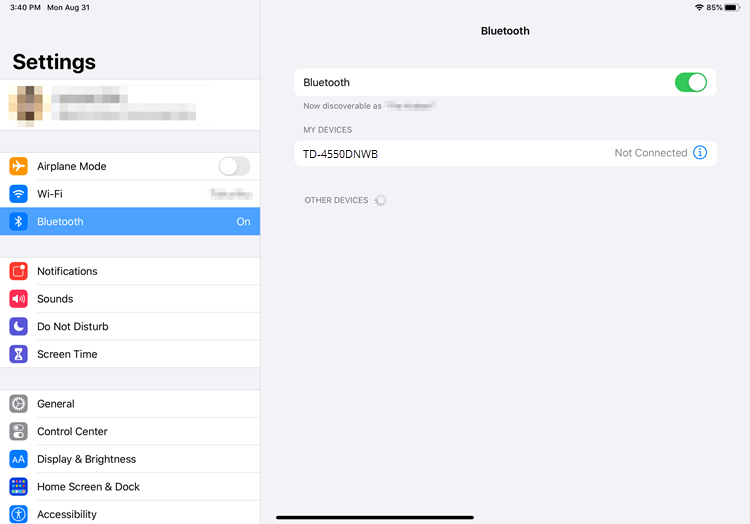
On your iPad, navigate to the Apple Settings icon, tap .
(Optional) If Bluetooth is disabled, tap the slider to
enable Bluetooth.
Click the correct printer to pair the ClearID Self-Service Kiosk iPad with your
printer.
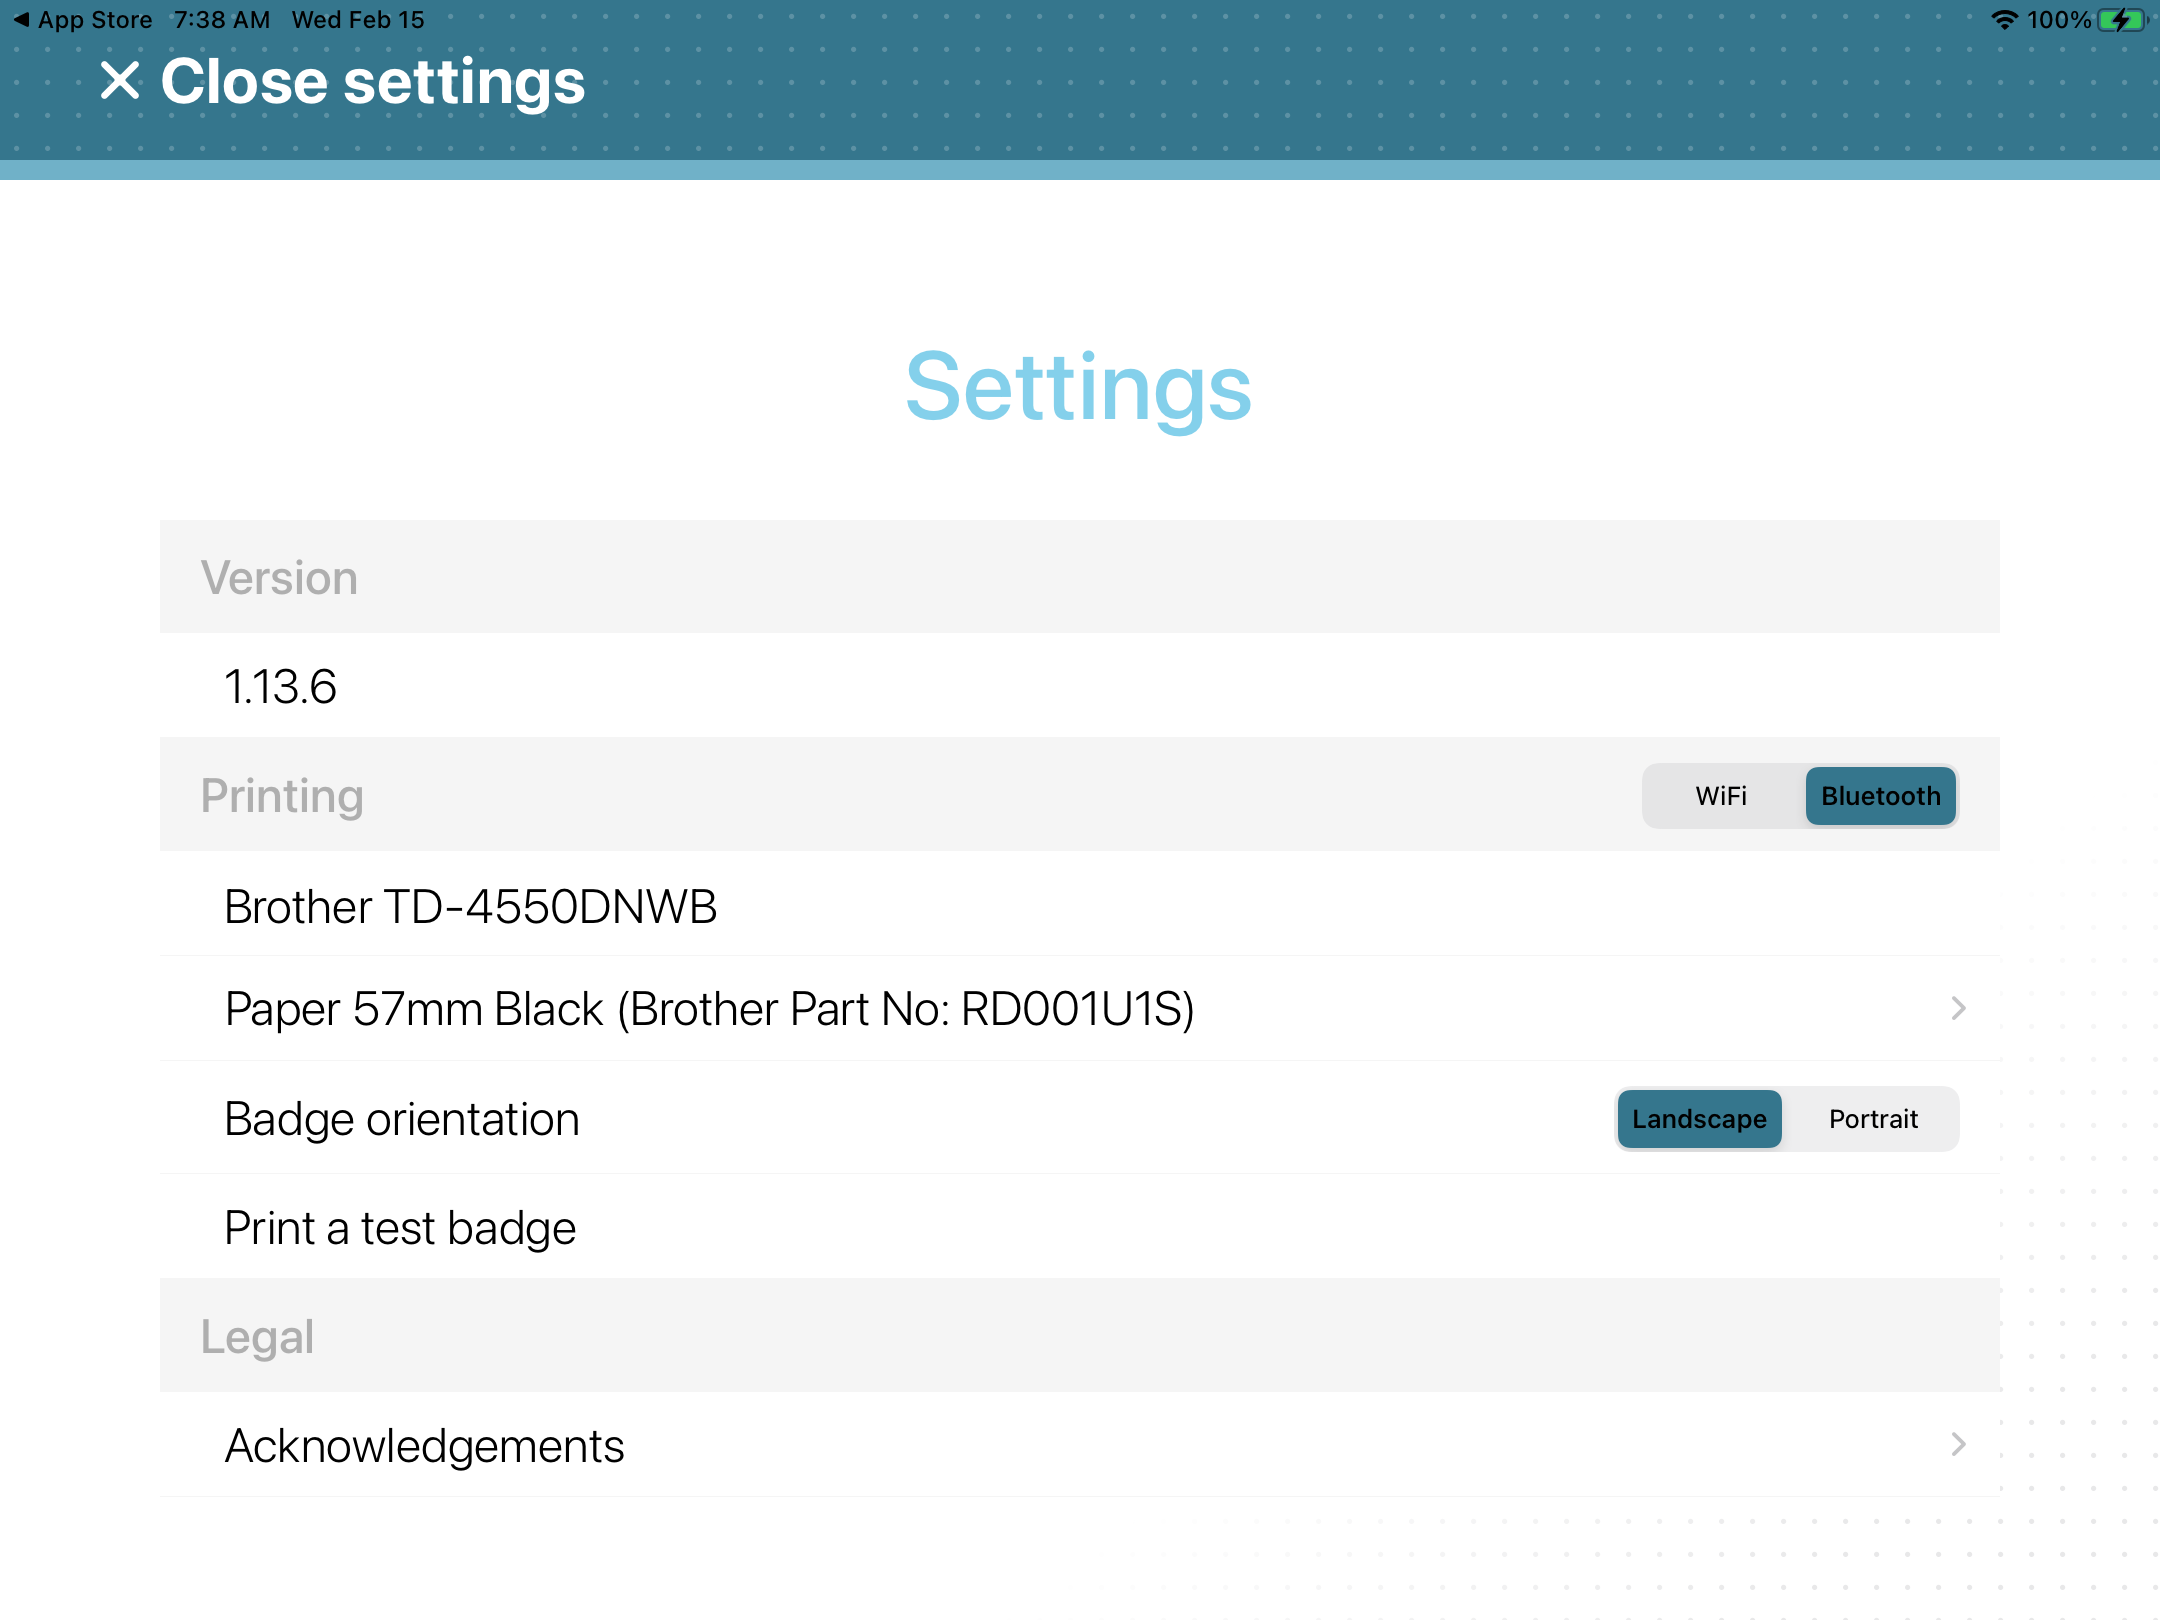
In the Self-Service Kiosk mobile app, tap
Settings (
In the Printing section, check that your Brother TD-4550DNWB
printer is displayed.
Tip: If the printer is not displayed or bluetooth is not selected, tap
WiFi then tap Bluetooth to trigger discovery
again.
