Configuring the Self-Service Kiosk label printer for Ethernet mode (Brother QL-820NWBc or QL-820NWB)

2023-06-15Last updated

Before visitors can use the Genetec ClearID™ Self-Service Kiosk to check in, you must configure the label printer so that labels can be printed during the check-in process.

Before you begin
Familiarize yourself with the following:
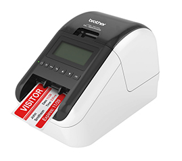
Brother QL-820NWB label printer.
Note: The Brother QL-820NWBc replaced the Brother QL-820NWB printer (discontinued). For more information about the differences, see Brother QL-820NWBc Specifications changes.

What you should know

  • One label printer can support up to five self-service kiosks
Note: A rechargeable Li-ion battery unit (power supply) can also be purchased and used in situations where mains power is unavailable.

Procedure

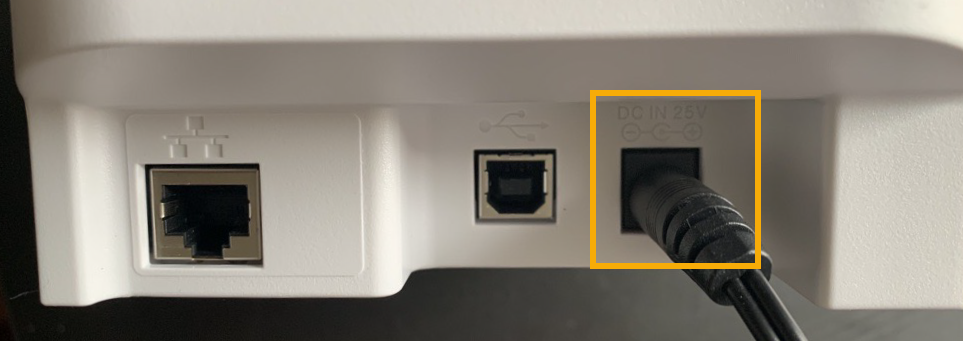
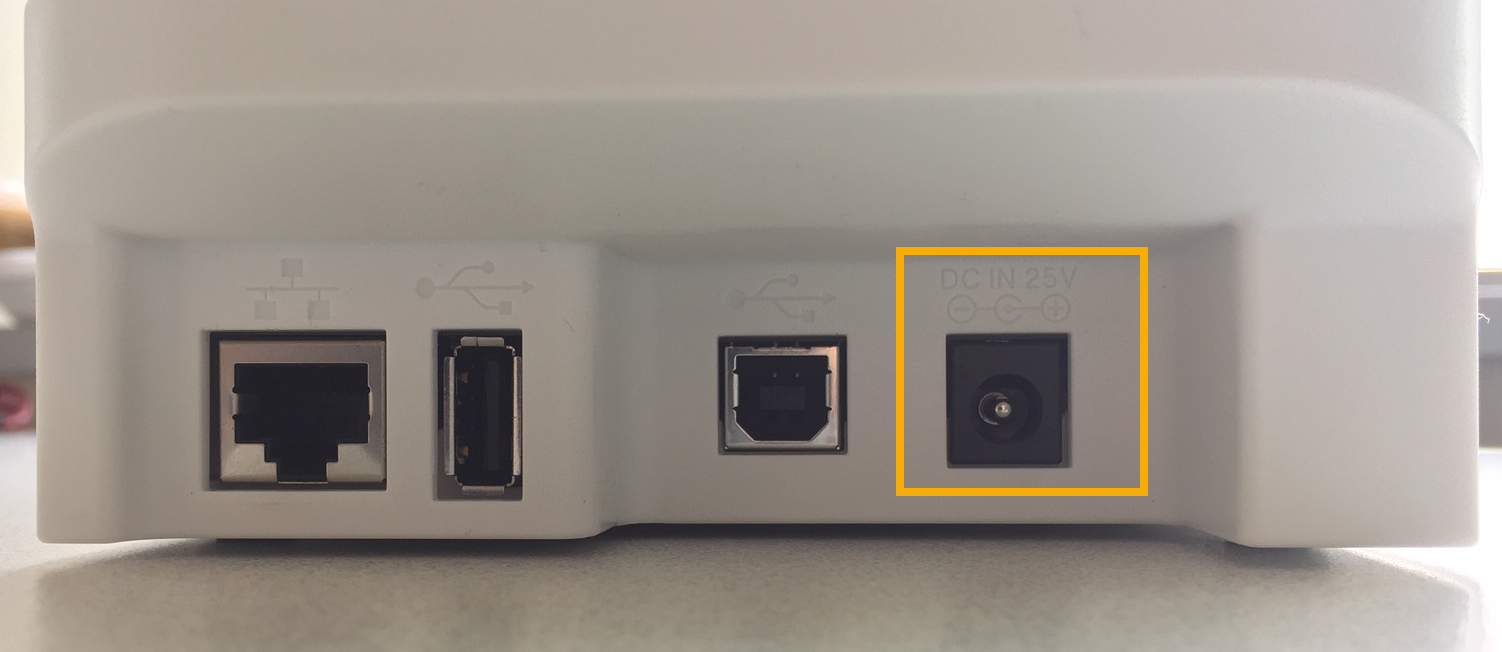
  1. Plug printer AC adapter into a power outlet and connect the power lead to the label printer.
    Figure 1. Brother QL-820NWBc label printer (rear)
    Rear of the Brother QL-820NWBc label printer with the AC adapter port highlighted.
    Figure 2. Brother QL-820NWB label printer (rear)
    Rear of the Brother QL-820NWB label printer with the AC adapter port highlighted.
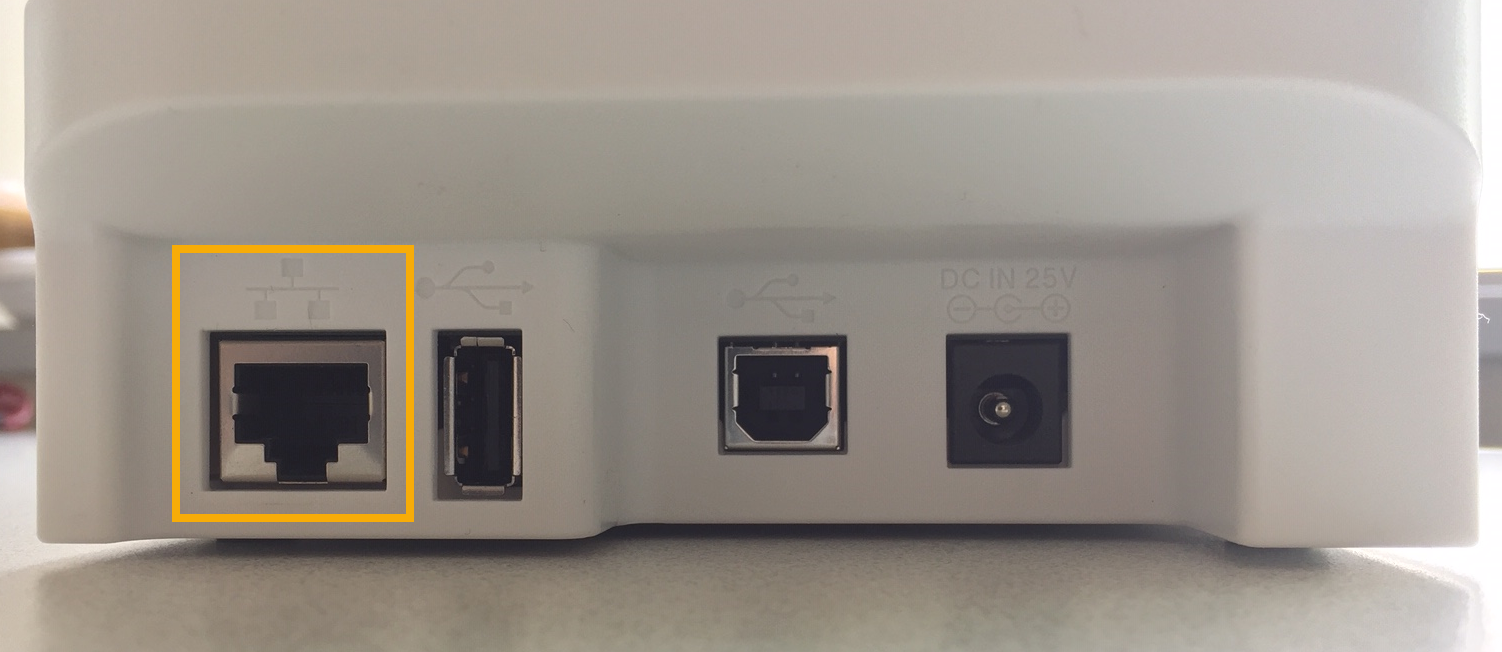
  2. Make sure that the printer is turned OFF before connecting the LAN cable.
    Figure 3. Brother QL-820NWBc label printer (rear)
    Rear of the Brother QL-820NWBc label printer with the Ethernet port highlighted.
    Figure 4. Brother QL-820NWB label printer (rear)
    Rear of the Brother QL-820NWB label printer with the Ethernet port highlighted.
    1. Connect a LAN cable to the LAN port on the back of the printer.
      Tip: Use a straight-through Category 5 (or greater) twisted-pair cable for 10BASE-T or 100BASE-TX Fast Ethernet Network.
  3. Press the Power button to turn the label printer on.
    Brother QL-820NWB label printer LCD display controls with the power button highlighted.
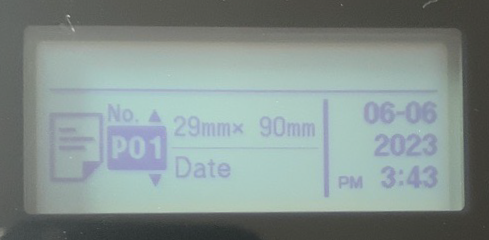
  4. (Optional) If you see Template Mode menu and the incorrect label size displayed, disable it.
    Brother QL-820NWBc label printer LCD display showing the Template mode menu and label size.
    1. Press Menu, navigate to Template Settings and turn off the Template Mode setting.
  5. Select your label printer (Ethernet).

After you finish

(Optional) Print a test badge.