2026-09-03Last updated
To define how credential data flows between Okta and Genetec
ClearID™, you must configure your
credential mappings.
What you should know
You must be an Account administrator to configure Okta credential mappings.
Procedure
-
From the Access management section on the sidebar, click .
-
Select the Okta configuration you want to configure.
-
In the Credential mappings section, click
 .
.
-
From the Add facility code and card number list, select the
mapping type:
- Raw code
- Maps a single raw credential value.
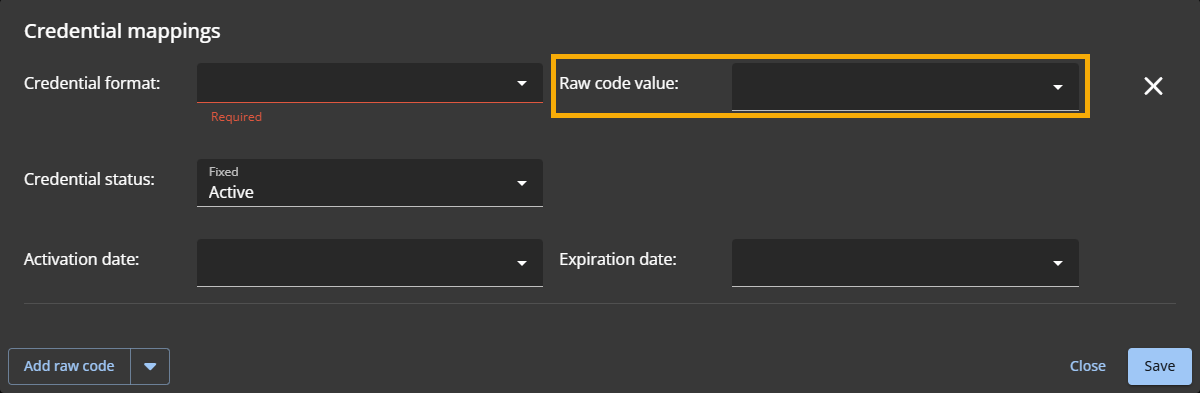
- Facility code and card number
- Maps both values from Okta attributes.
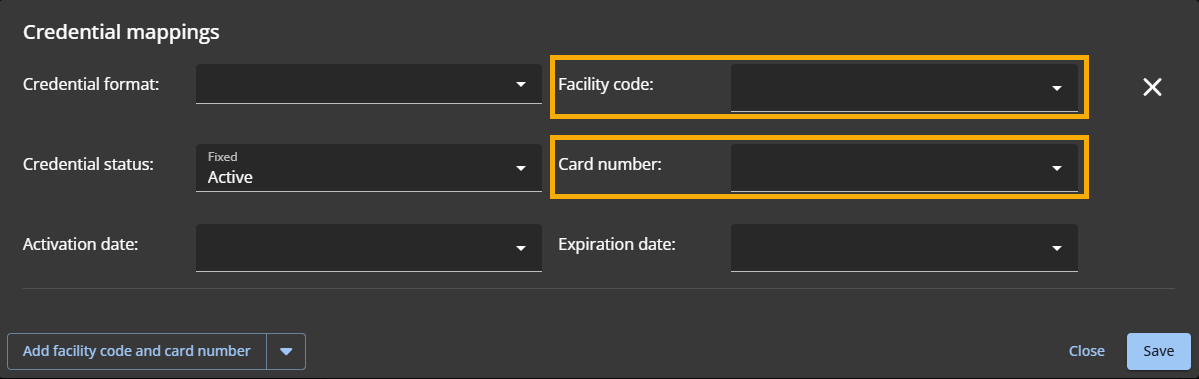
- Fixed facility code and card number
- Uses a fixed facility code and maps the card number from Okta.
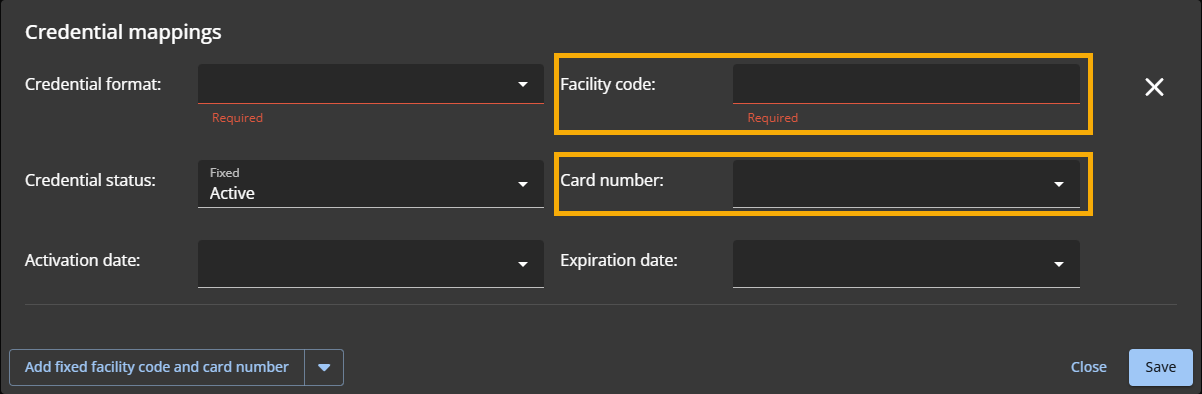
-
From the Credential format list, select a supported credential
format:
- Standard 26 bits
- HID H10306 34 Bits
- HID H10302 37 Bits
- HID H10304 37 Bits
- HID Corporate 1000 35 Bits
- HID Corporate 1000 48 Bits
- CSN (32 bits)
-
Complete the mapping fields based on the mapping type:
- Raw code
- Select the Okta attribute for the raw code.
- Facility code and card number
- Select the attribute for each: Facility code and Card number.
- Fixed facility code and card number
-
- Enter the fixed Facility code.
- Select the attribute for the Card number.
-
From the Activation date list, select the Okta attribute that
corresponds to the credential's activation date value.
-
From the Expiration date list, select the Okta attribute that
corresponds to the credential's expiration date value.
-
Click Save.
After you finish
Define your synchronization rules and trigger the initial synchronization to pull your
users into ClearID.
