
Configuring the data source for Database synchronization
2026-05-06Last updated
To synchronize identity data from SQL, Oracle, or ODBC sources, IT and security personnel must configure database connection strings and SQL queries in the One Identity Synchronization Tool.
Before you begin
- Prepare a Database containing identities attributes that you want to import and synchronize.
- Check your license information: Part number CD-IDSYNC-SERVICE-1Y is required for One Identity Synchronization Tool import.
What you should know
- This procedure describes how to configure the data source for a Database (Microsoft SQL Server, Oracle Database, ODBC).
- The data source order is important because the first data source always overrides common fields.
- There is no limit to the number of data sources. However, larger sources require more memory.
Procedure
-
In the One Identity Synchronization Tool Data
sources section, click Add data source (
 ).
).

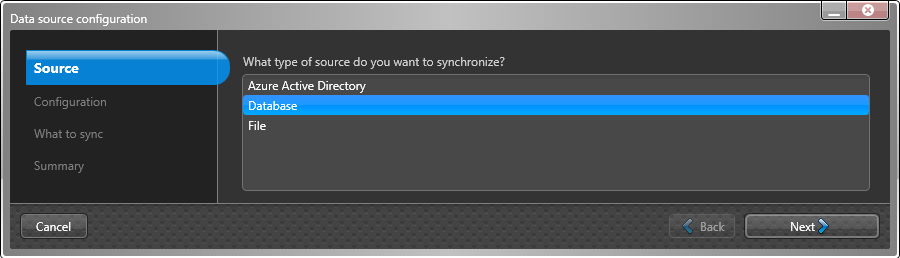
-
In the Source section, select Database and
click Next.
-
In the Configuration section, configure the database
settings.
-
If you selected Microsoft SQL Server, configure the
following:
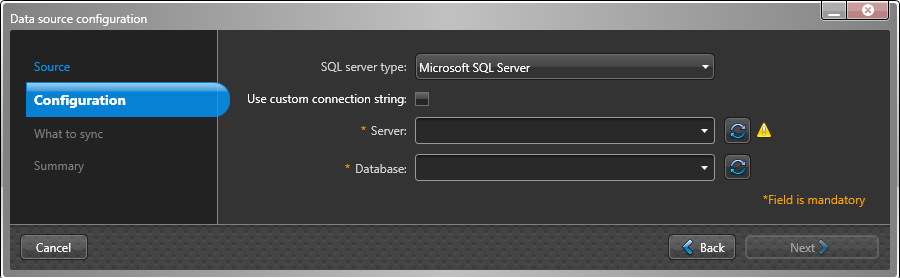
- Use custom connection string: Select this option to enter your own database connection string. When selected, the Server and Database fields are removed.
- Connection string
- Server
- Database
-
If you selected Oracle Database or
ODBC, configure the following:
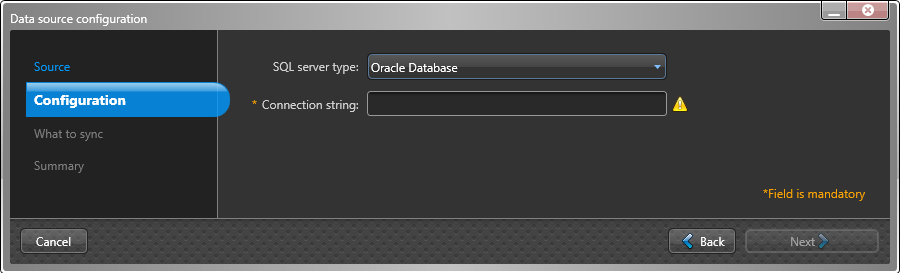
- Connection string
-
If you selected Microsoft SQL Server, configure the
following:
-
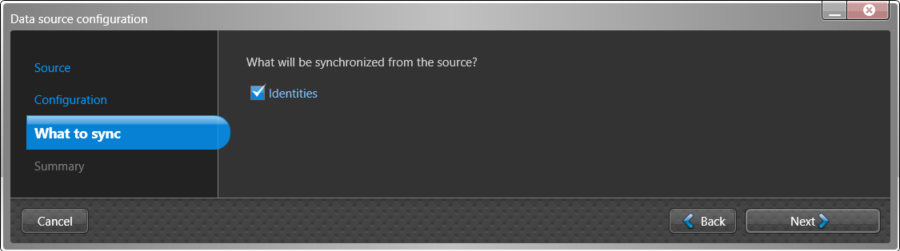
In the What to sync section, select
Identities to synchronize from the external system data
source.
-
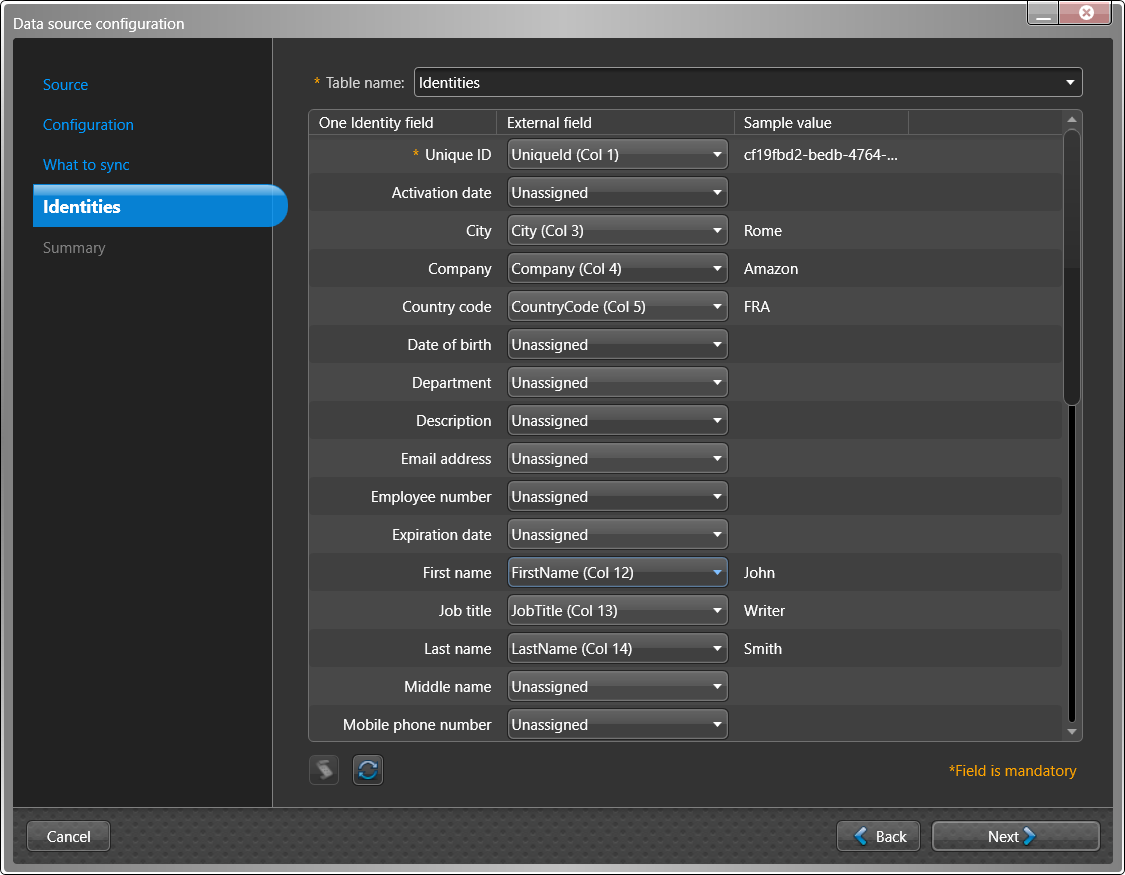
If you selected Identities,
configure the identity attributes settings.
The fields that are displayed vary depending on the data source you selected in the Source section.
The following image shows the options that are displayed after selecting a Database data source.
-
(Optional) Click Script (
 ) to add a transform
expression to find and replace external field text using regular expressions.
For example, you can look for variations of a country name to replace with the correct country code.
) to add a transform
expression to find and replace external field text using regular expressions.
For example, you can look for variations of a country name to replace with the correct country code.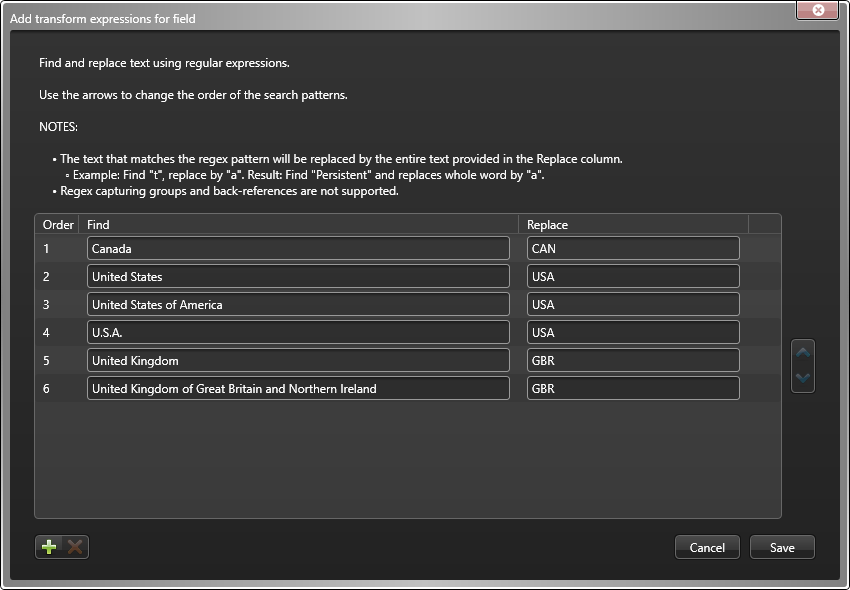
- A script icon () appears in the
Sample value column when a transform expression is applied.
- The transform expressions are processed in the order specified in the Add transform expressions for field dialog.
To remove an expression, select its row and click
 .
. - A script icon (
-
(Optional) Click Refresh (
 ) to update the external fields data from your data source. This refresh
option is used if data has changed in the external system, or if new data rows or attribute
columns were added.
) to update the external fields data from your data source. This refresh
option is used if data has changed in the external system, or if new data rows or attribute
columns were added.
-
(Optional) Click Script (
-
In the Summary section, review the data
that will be synchronized.
 Note:If multiple data sources are selected, only the first data source file is displayed in the Summary section Data source name field. If you want each of the data files listed in the Data sources section, you must add them individually.
- If the data synchronization details look correct, click Finish.