To import identity information from an external system, IT and security personnel must
first install the One Identity Synchronization Tool for Genetec ClearID™.
Before you begin
Obtain the latest installer package from your deployment contact.
What you should know
You must install the One Identity Synchronization Tool on its own dedicated server. It
does not require a Security Center server.
The One Identity Synchronization Tool is not generally available as a public download.
The synchronizer download is supplied by your deployment contact when
needed.
Procedure
Navigate to the ClearID One Identity Synchronization Tool installer supplied by your
deployment contact.
Right-click the setup.exe file. Then click Run as
administrator and follow the installation instructions.
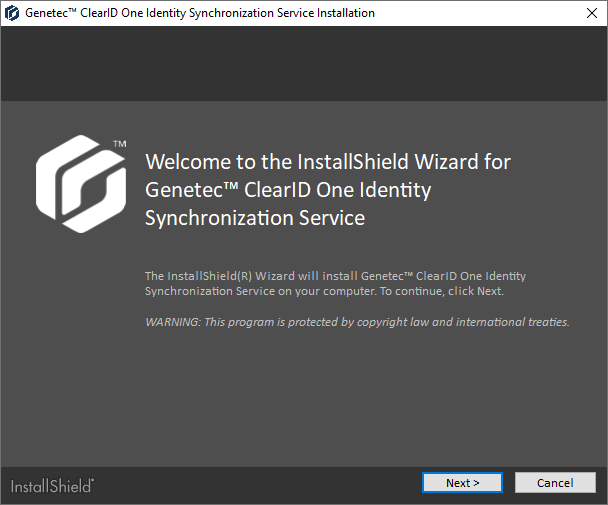
In the Genetec ClearID™ One Identity Synchronization Service
Installation dialog, select a setup language and click
Next.
In the Welcome to the InstallShield Wizard section, click
Next.
Review and accept the license agreement, then click Next.
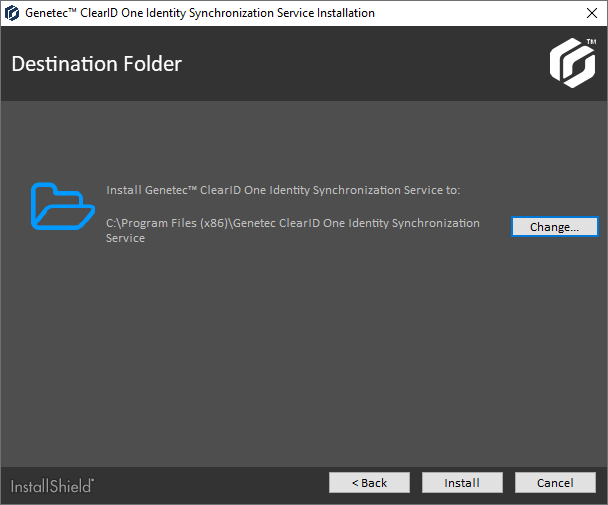
Specify your destination folder.
By default the service is installed at C:\Program Files (x86)\Genetec
ClearID One Identity Synchronization Service.
(Optional) Click Change to modify the destination folder.
In the Browse For Folder dialog, select the folder where you
want the service installed, and click OK.
Click Install.
Click Finish to complete the installation.
The ClearID One Identity Synchronization Tool is now installed.
After you finish
Set up the operational parameters of the One Identity Synchronization Tool by defining
your connection and data source settings.