2026-04-28Last updated
To define how identity data flows between Microsoft Entra ID and Genetec ClearID™, you
must configure your identity field mappings.
What you should know
You must be an Account administrator to configure Microsoft Entra ID identity field
mappings.
Procedure
-
In the ClearID web portal, click .
-
Select the Microsoft Entra ID configuration you want to configure.
-
In the Identity field mappings section, click
Configure.
-
In the Identity field mappings dialog box, configure the mappings
as needed.
Three ClearID fields are mapped to Microsoft Entra ID fields by default:
External ID, First name, and
Active.
-
To add a new mapping, click Add mapping field and fill out the
row:
- ClearID field
- Select the identity field to map.
- Mapping type
- Choose a type.
- Direct
- The direct mapping type directly applies the Microsoft Entra ID value to the
ClearID identity field when synchronized.
- Regex
- The regex mapping type applies a regex transformation to the field value
when synchronizing from the Microsoft Entra ID user to the ClearID
identity.
- Fixed
- The fixed mapping type applies a fixed value for the field. For example, the
value for the Active field will always be true.
- Microsoft Entra ID field
- Select the source field from Entra ID.
- Example value
- View a sample value pulled from your enterprise application.
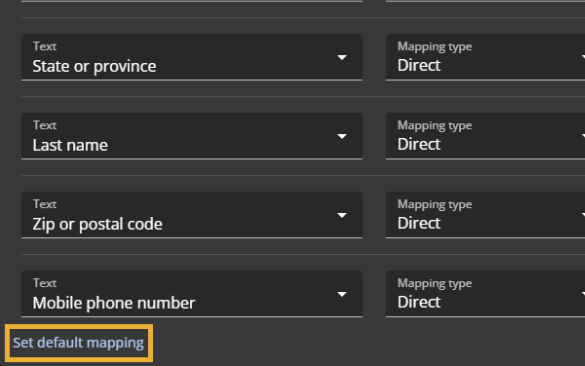
-
(Optional) To use the recommended identity field mappings, click Set default
mapping.
-
Click Save.
After you finish
Define how access credentials (such as card numbers, facility codes, and activation
dates) flow into the system. This ensures your synchronized users receive functional access
rights.