Adding a system
2024-08-23Last updated
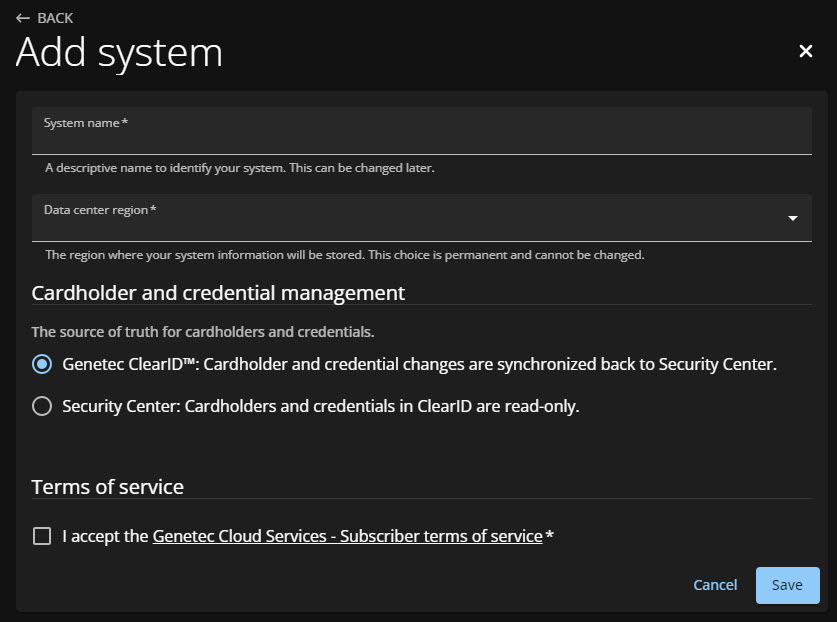
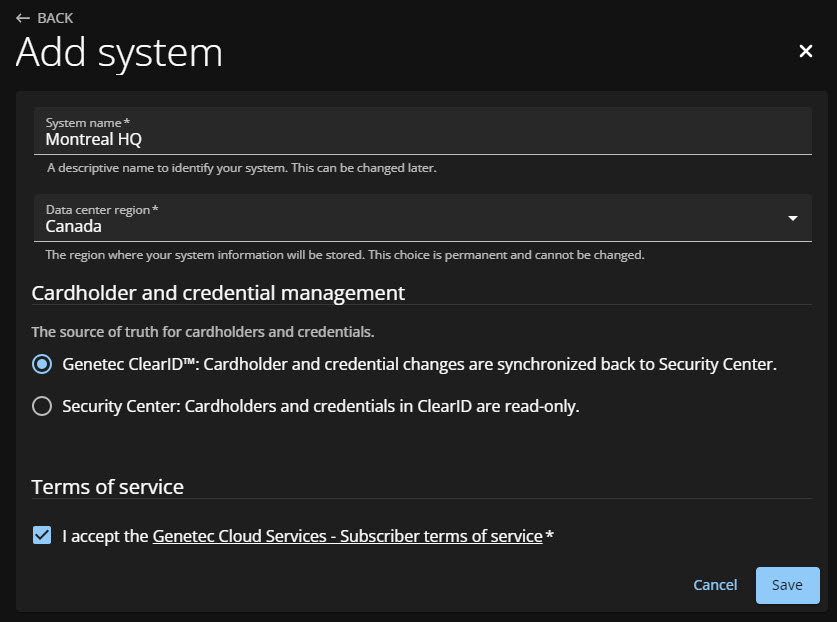
Before you can connect the Genetec ClearID™ plugin role to your ClearID account, you must add your Security Center systems to ClearID.
Before you begin
- Create the plugin role.
- (Optional) If you have pre-existing Synergis™ cardholders, follow the best
practices for Setting up Genetec ClearID™ with
an existing Synergis™ system.
- In Config Tool, check that all your cardholders have a valid business email address or external ID before adding your systems in ClearID. This check ensures that cardholders are correctly associated with the corresponding identities.
- Connect Security Center to ClearID.
What you should know
- To create systems in ClearID, you must be a Global administrator.
Procedure

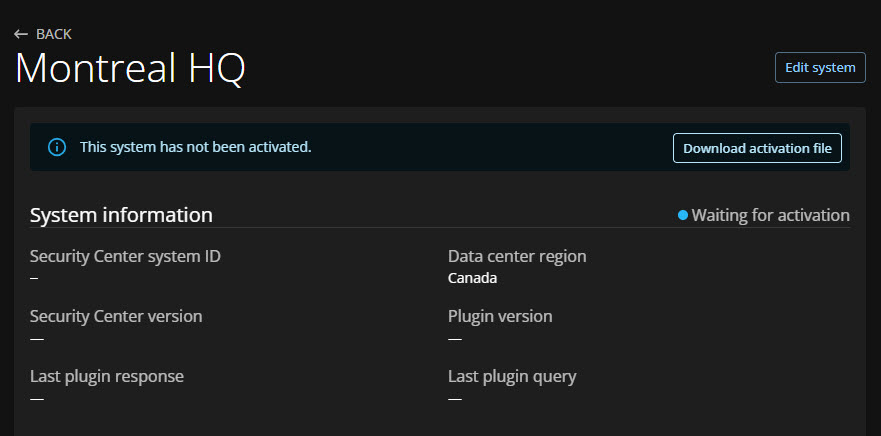
Example
Watch this video to learn more. Click the Captions icon (CC) to turn on video captions in one of the available languages.


