Adding schedules to an area
2026-05-06Last updated
To define time constraints for when people can access a location, Area owners must add schedules to an area in Genetec ClearID™.
Before you begin
What you should know
- Each area must have at least one schedule.
- The schedules available depend on those defined in the Security Center access control system that is selected when you create your area.
- When a schedule is added to an area, an access rule is created in Security Center. This rule defines the schedule associated with the area. ClearID then grants or removes access for assigned cardholders or cardholder groups based on that schedule.
Procedure
- Click .
- Select an area from the list.
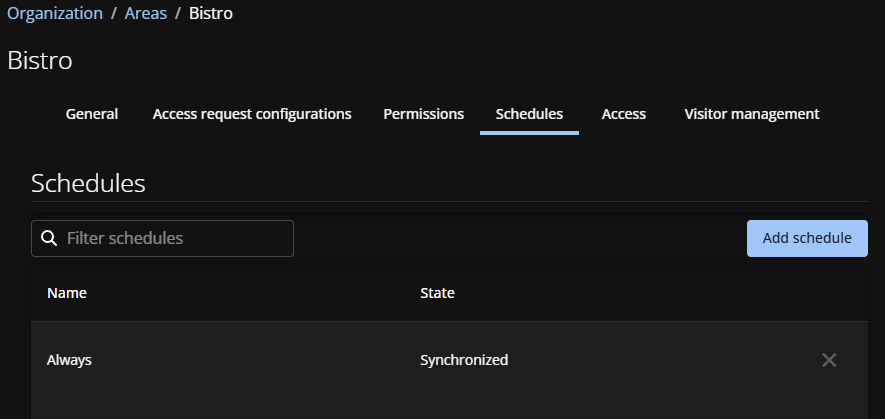
- Click Schedules.
-
Click Add schedule.
-
Enter a search term and click Search (
 ).
).
-
Enter a search term and click Search (
-
(Optional) Click Remove (
 ) next to any schedule you want to
delete.
) next to any schedule you want to
delete.
- Click Save.