Configuring the data source for Azure AD
synchronization
2026-05-06Last updated
To synchronize identity attributes from Microsoft Azure Active Directory to Genetec
ClearID™, IT and security personnel must first configure the data source connection in the One
Identity Synchronization Tool.
Before you begin
Familiarize yourself with the Azure web app.
Note the Azure web app connection settings for later use.
Ensure that the Azure AD API permissions are set up.
Prepare an Azure Active Directory containing the identities attributes that you want to
import and synchronize.
Check your license information: Part number
CD-IDSYNC-SERVICE-1Y is required for One Identity Synchronization Tool import.
What you should know
This procedure describes how to configure the data source for Azure
AD.
The data source order is important because the first data source always overrides common
fields.
There is no limit to the number of data sources. However,
larger sources require more memory.
When using an Azure data source to synchronize identities, the
UserId field is automatically used as the Unique
ID. When the Azure data source is selected, the Unique
ID fields cannot be configured and use of the Azure
UserId field is triggered by default.
Procedure
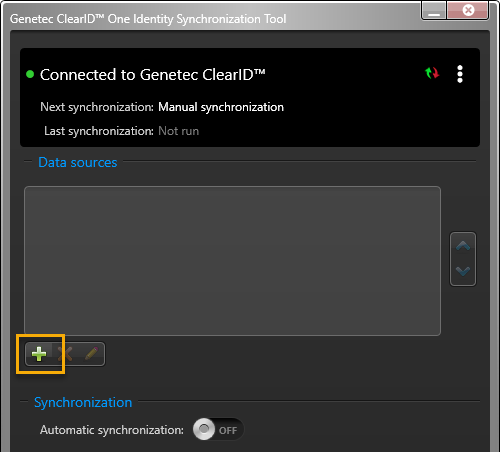
In the One Identity Synchronization Tool Data
sources section, click Add data source ().
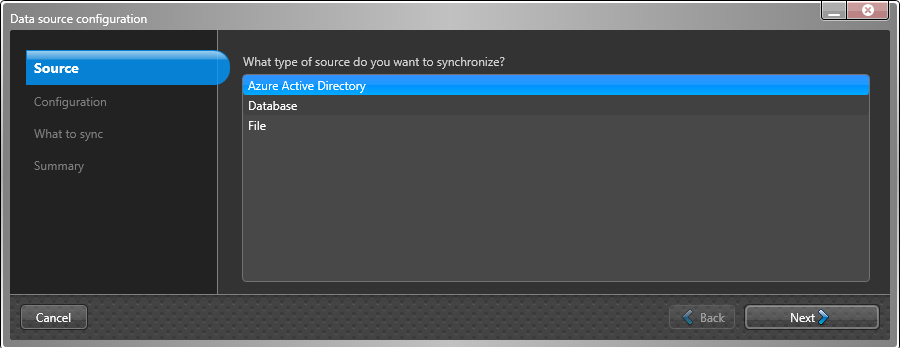
In the Source section, select Azure Active
Directory and click Next.
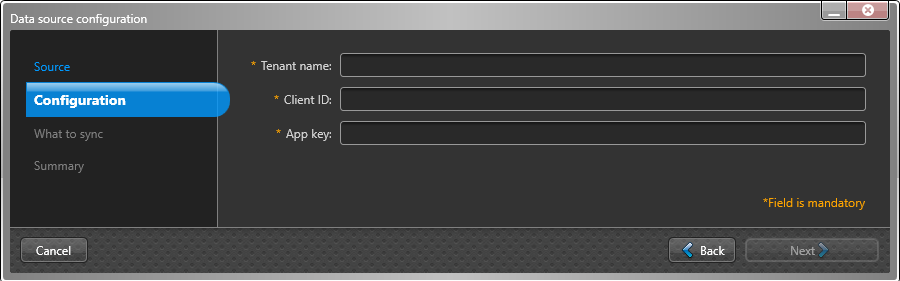
In the Configuration section, complete the following mandatory
fields:
Tenant name
Enter your Azure tenant name (account name). The tenant name is used to connect to
the directory for the account. For example, a host address
account.onmicrosoft.com or a GUID
nxxnxnxx-nnnn-nxnn-nnnx-nxnnnxnnxnnn.
Client ID
Enter your registered Azure client ID. The Client ID format
is an alpha-numeric format as follows:
nxnxnxxn-xxnn-nnnx-xxnn-nxxxnxnnnxnn.
App key
Enter your App key to authenticate the connection. The App
key format is an alpha-numeric format as follows:
nXnxxxxXxxXnxxxXXXxXXnxxXXXnnxxxXXnXXXXXxxx=.
The Tenant name, Client ID, and App key can be obtained
from your Azure Active Directory application registration.
Click Next.
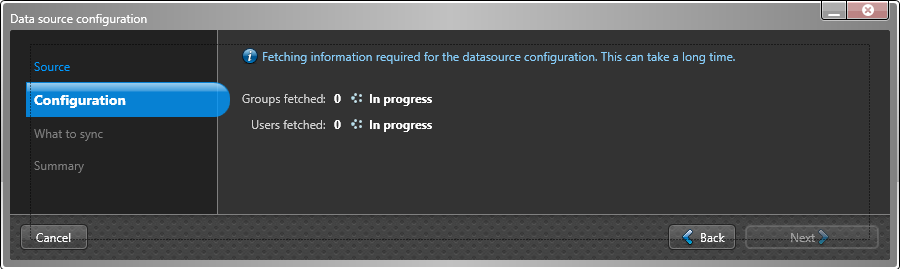
Fetching information may take time depending on the number of users and
groups.
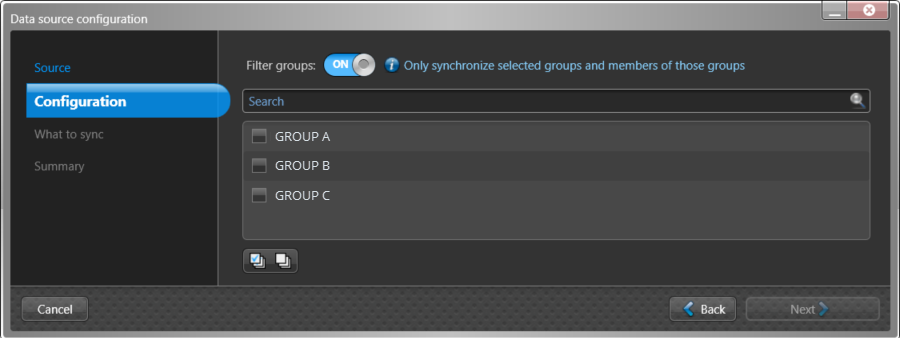
(Optional) Use the Filter groups option to only synchronize
a subset of selected Azure AD groups and group members. Search for or select the
groups that you require and click Next.
Use Check all or Uncheck all icons
to help with long lists.
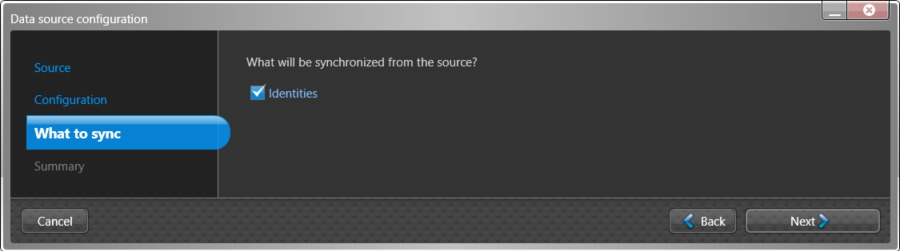
In the What to sync section, select
Identities to synchronize from the external system data
source.
If you selected Identities,
configure the identity attributes settings.
The fields that are displayed in the Identities section vary
depending on the data source you selected in the Source
section.
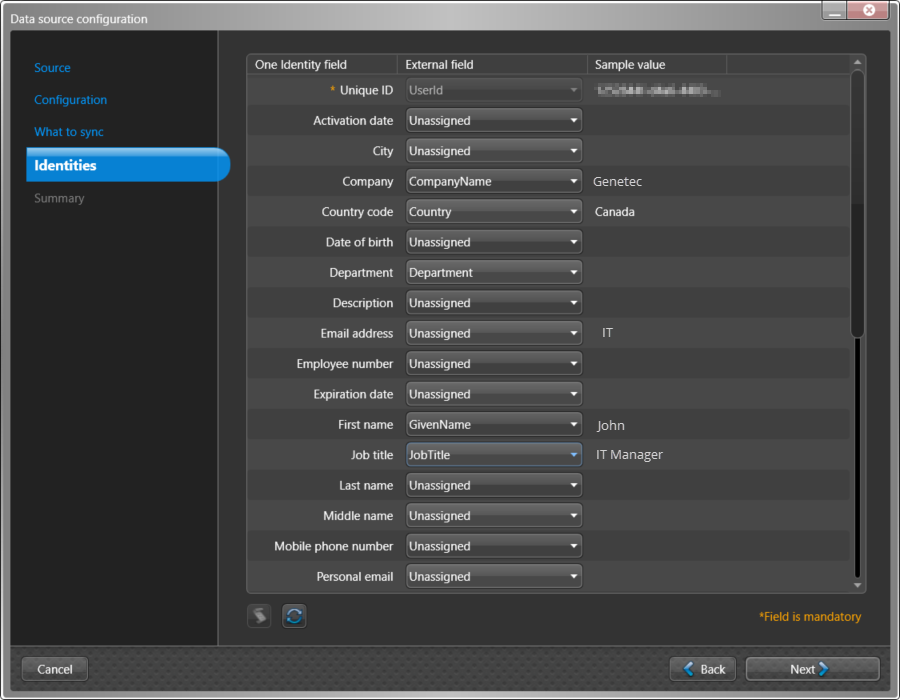
The following image shows the options that are displayed after selecting an
Azure AD data source.
Configure your External field
attribute mappings.
One Identity field
Displays the ClearID identity attributes.
Mandatory fields are highlighted using an asterisk (*).
External Field
Select the corresponding attributes from your external system that you want to map to
each ClearID
field.
When using Azure AD as your
data source, the One Identity Unique ID field must be mapped
to the Azure AD User ID external field. This ensures that the
identity attributes are correctly mapped and synchronized.
Sample value
If available, an example of the external field’s data is shown next to each selected
mapping.
Use the sample value column to check the format of the attributes data you
are about to import from your external system fields into ClearID.
(Optional) Click Script () to add a transform
expression to find and replace external field text using regular expressions.
For example, you can look for variations of a country name to replace with the
correct country code.
A script icon () appears in the
Sample value column when a transform expression is applied.
The transform expressions are processed in the order specified in the Add
transform expressions for field dialog.
To remove an expression, select its row and click .
(Optional) Click Refresh () to update the external fields data from your data source. This refresh
option is used if data has changed in the external system, or if new data rows or attribute
columns were added.
Click Next.
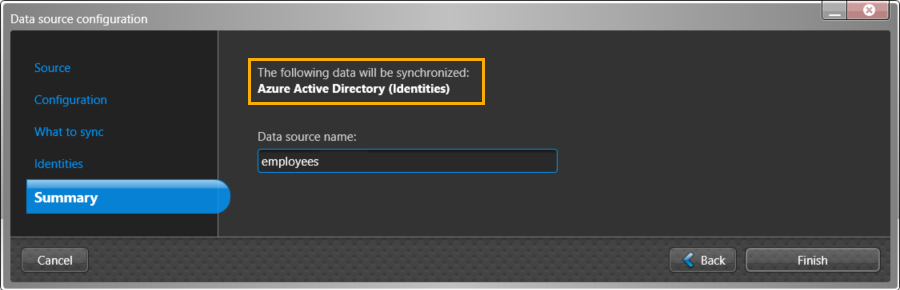
In the Summary section, review the data
that will be synchronized.
Note:
If multiple data sources are selected, only the
first data source file is displayed in the Summary section
Data source name field. If you want each of the data files
listed in the Data sources section, you must add them
individually.
If the data synchronization details look correct, click
Finish.
After you finish
Define the rules for the import process, such as
your automatic synchronization schedule and default access settings.

 ).
).
 ) to add a transform
expression to find and replace external field text using regular expressions.
For example, you can look for variations of a country name to replace with the correct country code.
) to add a transform
expression to find and replace external field text using regular expressions.
For example, you can look for variations of a country name to replace with the correct country code.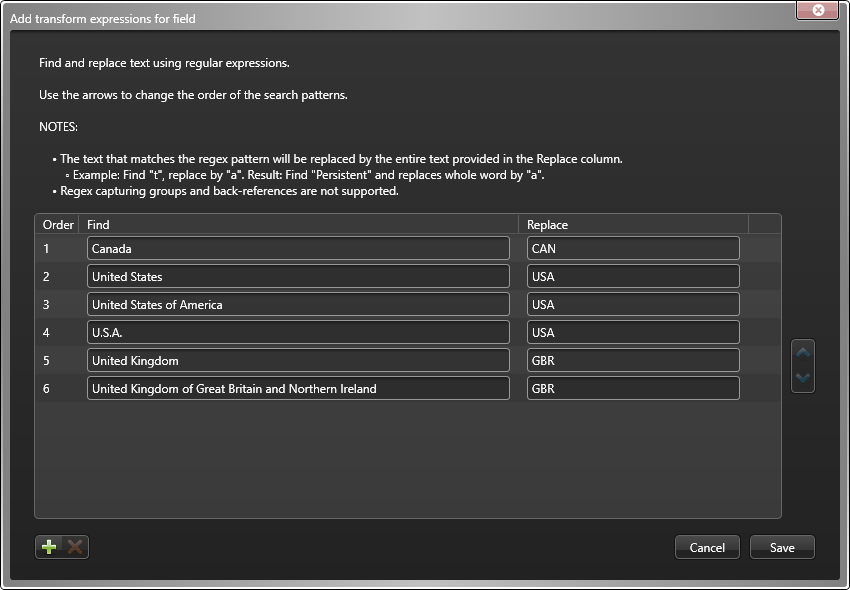
 .
. ) to update the external fields data from your data source. This refresh
option is used if data has changed in the external system, or if new data rows or attribute
columns were added.
) to update the external fields data from your data source. This refresh
option is used if data has changed in the external system, or if new data rows or attribute
columns were added.
 Note:If multiple data sources are selected, only the first data source file is displayed in the Summary section Data source name field. If you want each of the data files listed in the Data sources section, you must add them individually.