2026-05-05Last updated
To manage area access requests, an Area owner, Area manager, a Role manager, or a
Supervisor must review the pending approvals. They can then decide which requests to approve or
deny.
Procedure
-
Click .
-
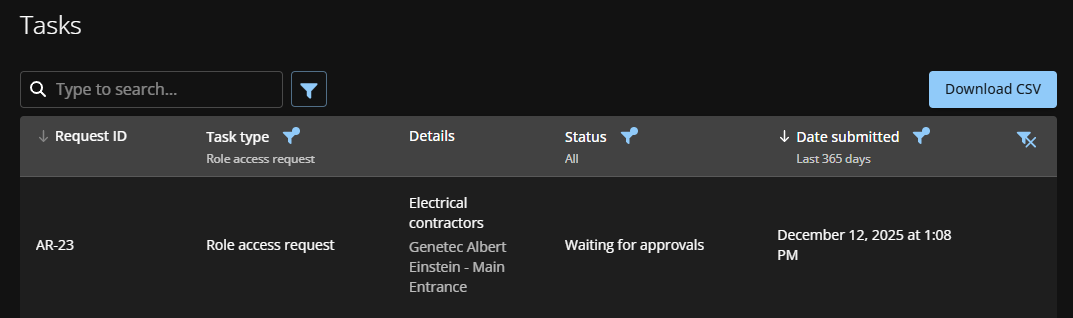
From the Status list,
filter the tasks to display:
- All
- Displays all pending or completed tasks.
- Pending
- Displays tasks waiting for approval.
- Completed
- Displays completed tasks and their status. For example, approved, completed, denied,
or
canceled.
-
Click an access request to view its details.
-
Review the request details and make any changes that you require.
For example, you can amend the dates due to an office closure, or apply the schedule
to a more appropriate access schedule.
-
(Optional) In the History field, describe any changes you make
to the access request.
-
Do one of the following:
- Click Approve.
- Click Deny.
-
(Optional) In the Reason field, enter why the request was
approved or denied.
-
Click Confirm.
- When approved, employees or visitors can access the area according to the specified
schedule.
- When denied, employees or visitors will no longer have access to the area.