Adding schedules to an area
2023-03-03Last updated
Before you can grant people access to an area, you must add schedules to your areas.
Before you begin
What you should know
- Only area owners can add schedules to an area in Genetec ClearID™.
- A schedule is an entity that defines a set of time constraints that can be applied to a multitude of situations in the system. Each time constraint is defined by a date coverage (daily, weekly, ordinal, or specific) and a time coverage (all day, fixed range, daytime, and nighttime).
- The schedules that are available for selection vary depending on the schedules defined in the Security Center access control system that is selected when you create your area.
- Some schedule examples include: Always, Weekdays, Weekend, 09:00-17:00, and so on.
- When a schedule is added to an area, an access rule is automatically created in Security Center. The area-schedule access rule defines the schedule that is associated with the area. ClearID automatically adds and removes access for a cardholder or cardholder group listed in the access rule based on the schedule specified in ClearID.
Procedure
- Click .
- From the Areas list, select an area.
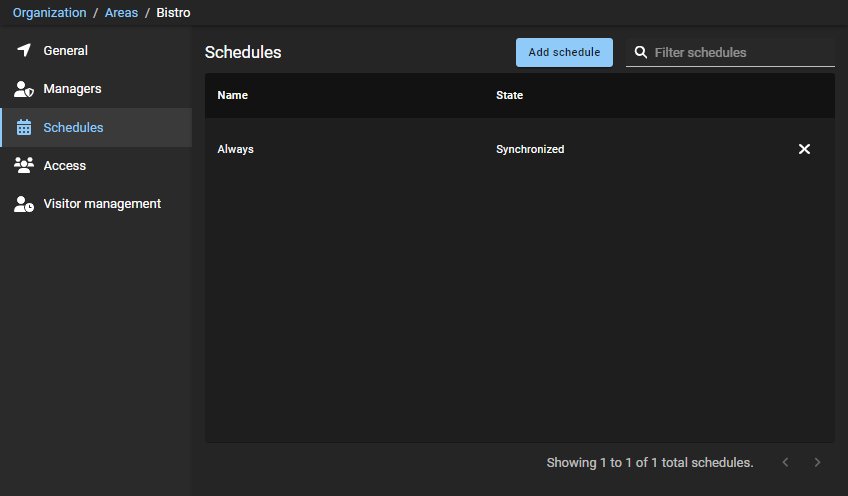
- Click Schedules.
-
Click Add schedule to configure your area
schedule.
-
(Optional) Click Remove (
 ) to remove any
schedules that are no longer required.
- Click Save.

