Printing a test badge from the Self-Service Kiosk

2023-10-18Last updated

To help you understand if the printer is working as expected, you can print a test badge. This test print can be performed either after first initial setup or after replacing a label roll.

Before you begin

What you should know

The Brother QL-820NWBc, QL-820NWB, and QL-810W label printers can print either Black or Red and Black badges:
  • 62mm Black (Brother Part No: DK-2205)
  • 62mm Red and Black (Brother Part No: DK-2251)
The Brother TD-4550DNWB label printer can only print Black badges:
  • 57mm Black (Brother Part No: RD001U1S)
    Important: The labels for the Brother TD-4550DNWB printer MUST be orientated correctly otherwise badge printing issues can occur.

Badges can be printed in either Portrait or Landscape format.

Procedure

  1. In the Genetec ClearID™ Self-Service Kiosk mobile app, tap settings ().
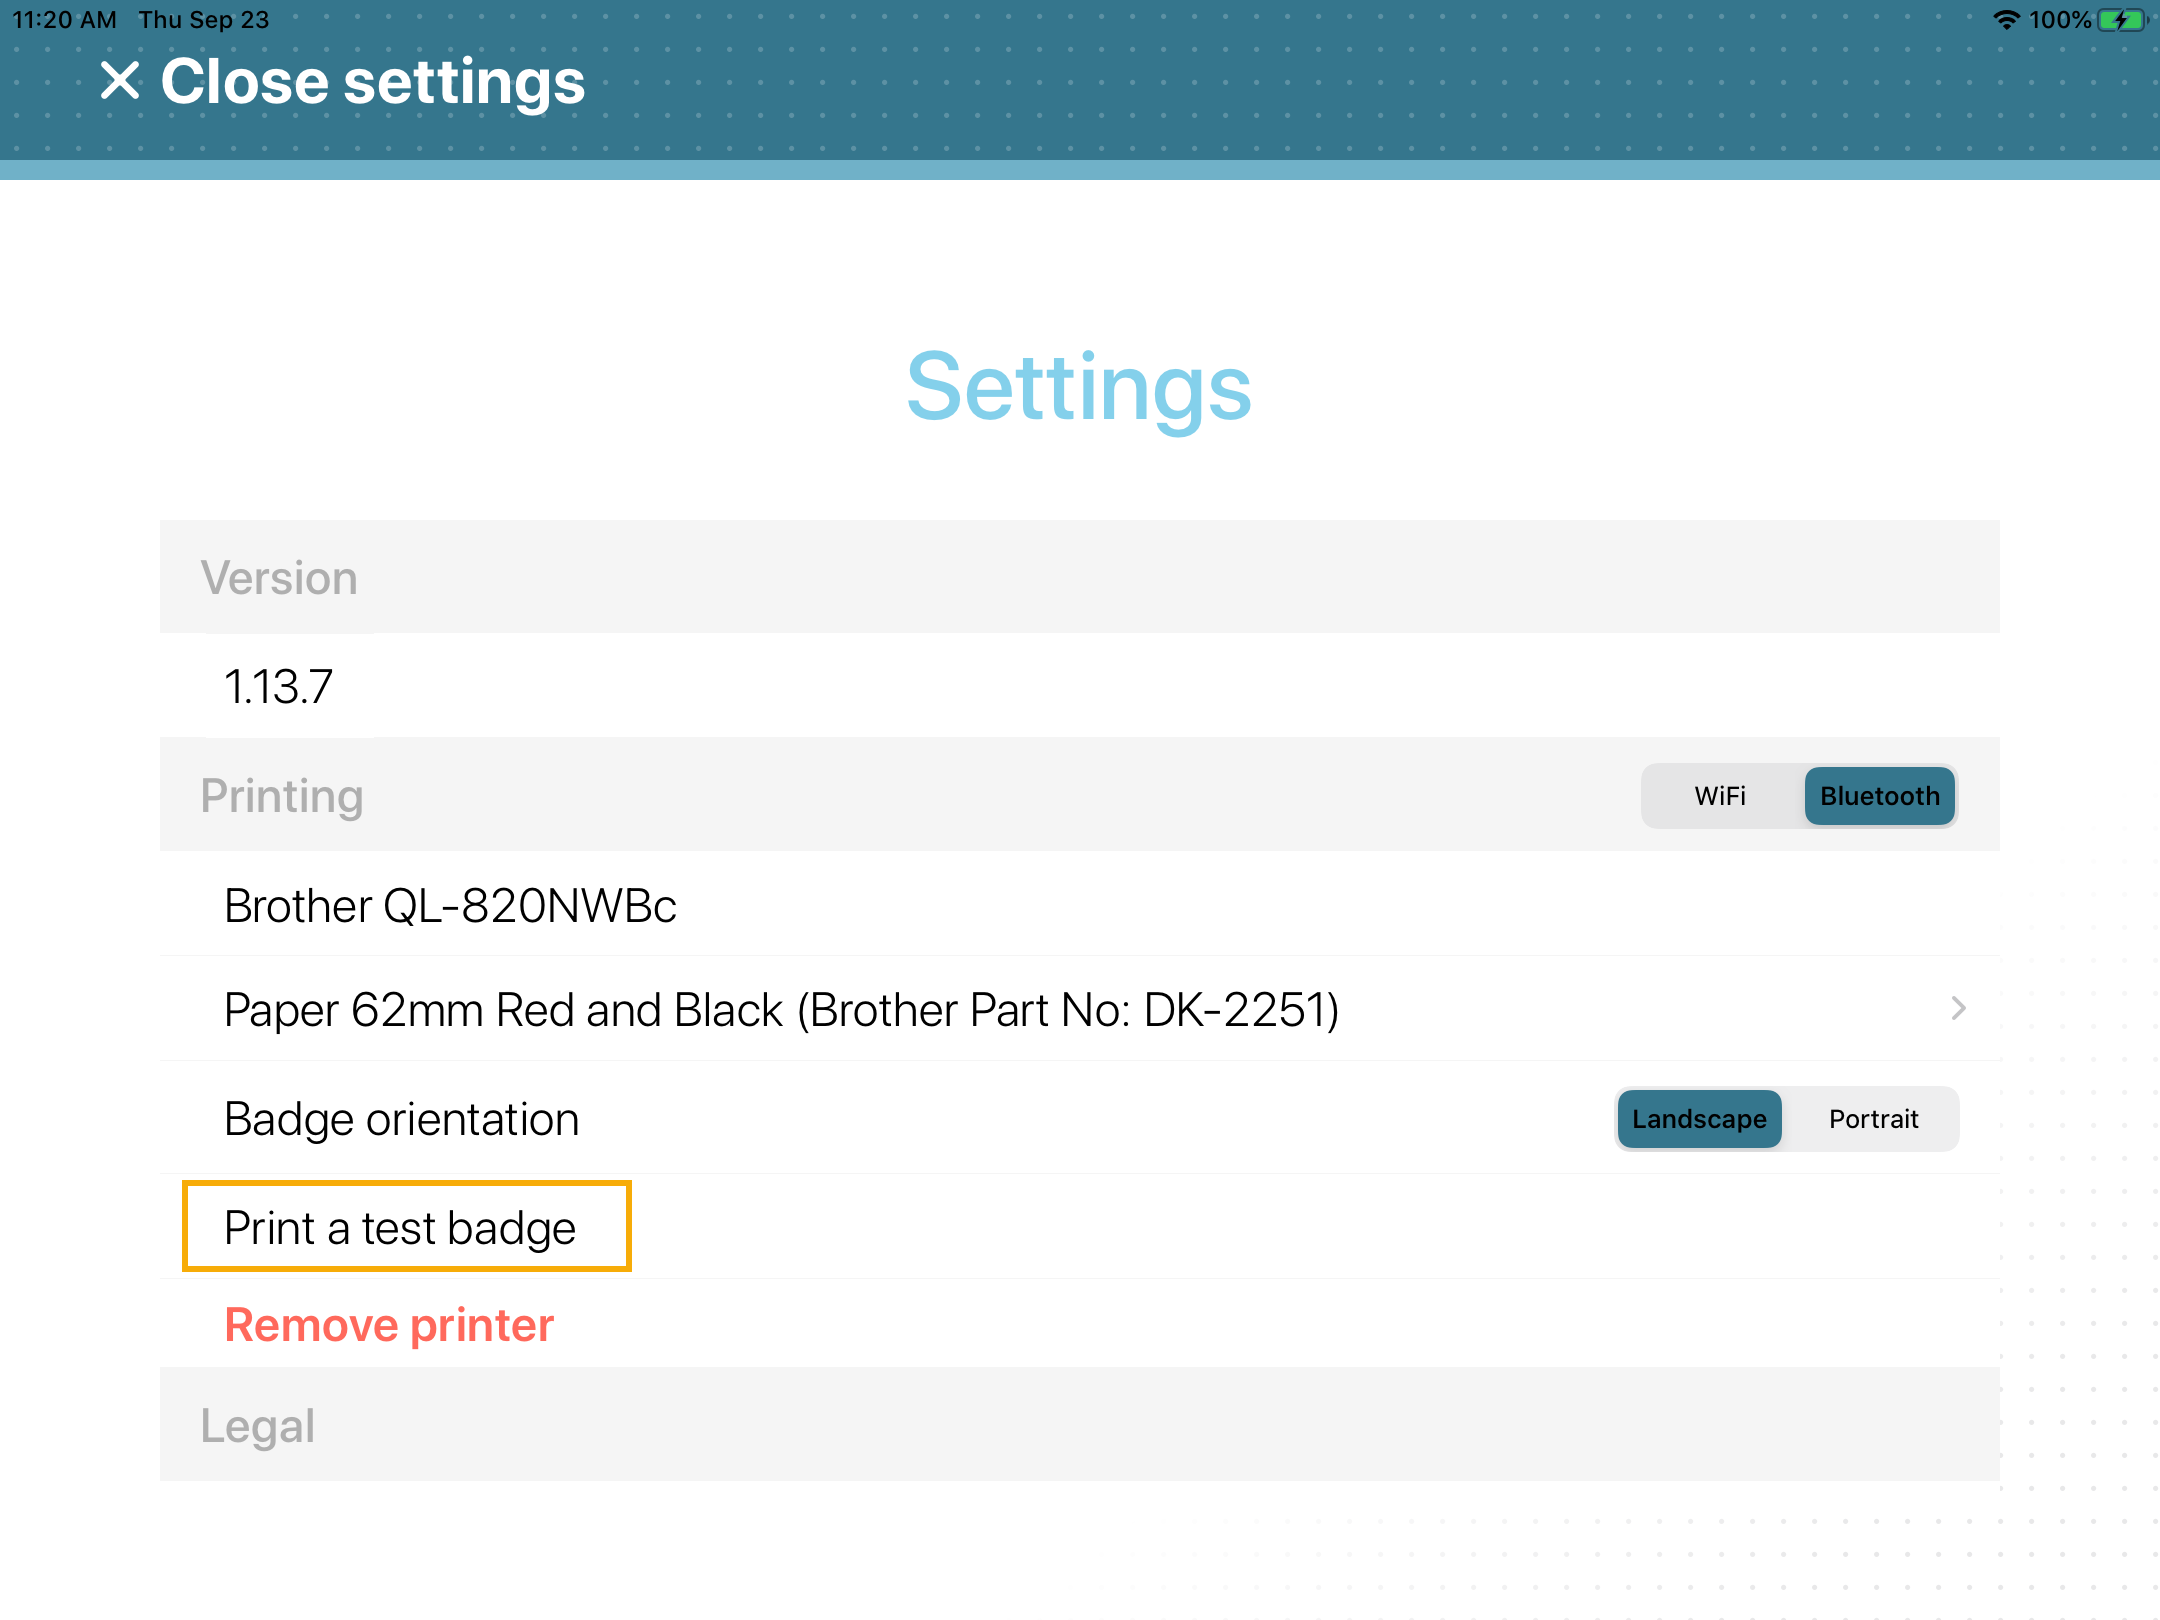
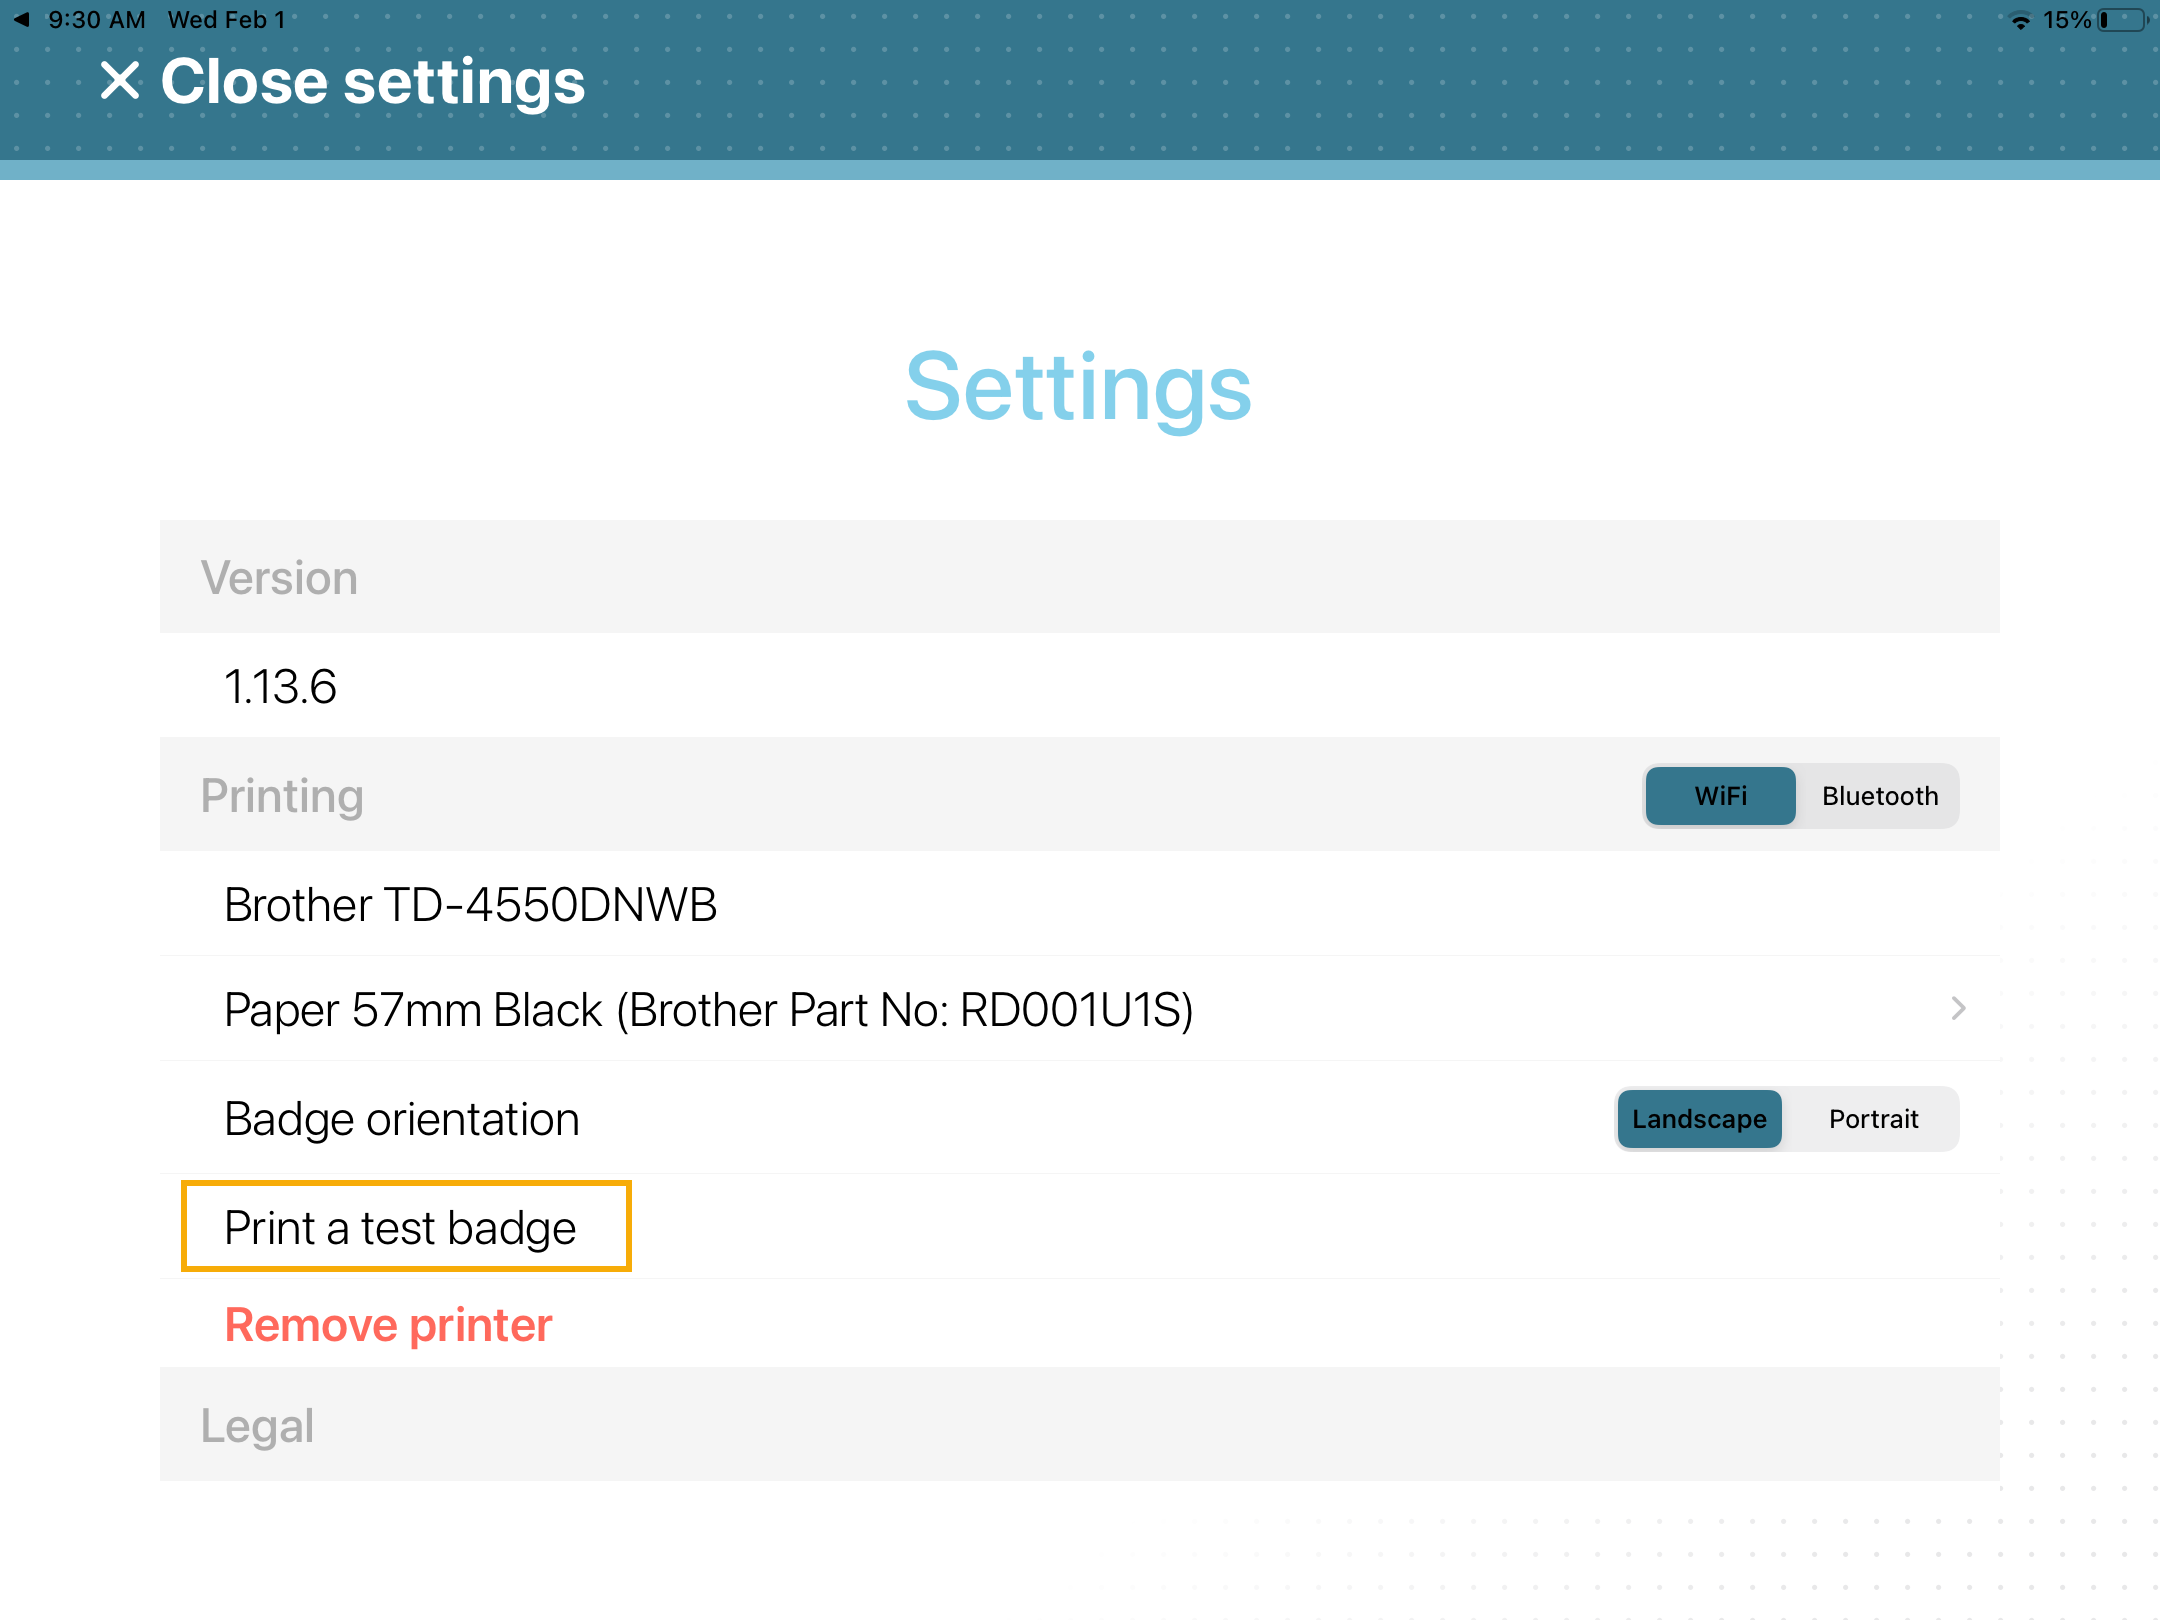
  2. In the Settings page, tap Print a test badge.
    Figure 1. Settings page - Brother QL-820NWBc printer
    Settings page in the ClearID Self-Service Kiosk.
    Figure 2. Settings page - Brother TD-4550DNWB printer
    Settings page in the ClearID Self-Service Kiosk.
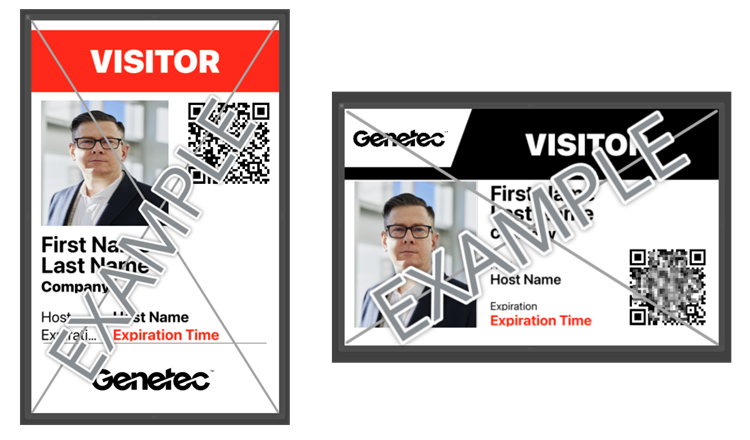
  3. Collect and examine your test badge.
    Visitor badge examples printed from the ClearID Self-Service Kiosk.

    Badge dimensions: 10 x 6.1 cm's or 3.94 x 2.56 inches.

    Note: When printing to a Brother TD-4550DNWB label printer, your badges are printed in black and white.
You are now ready for visitors to use the ClearID Self-Service Kiosk and print their own visitor badges during their check-in.

After you finish

From time to time you might need to order supplies, replace the coin cell battery, recharge the optional battery unit (Brother QL-820NWBc or QL-820NWB only), or clean the label printer.

For more information, see the third-party user guide documentation for your printer.